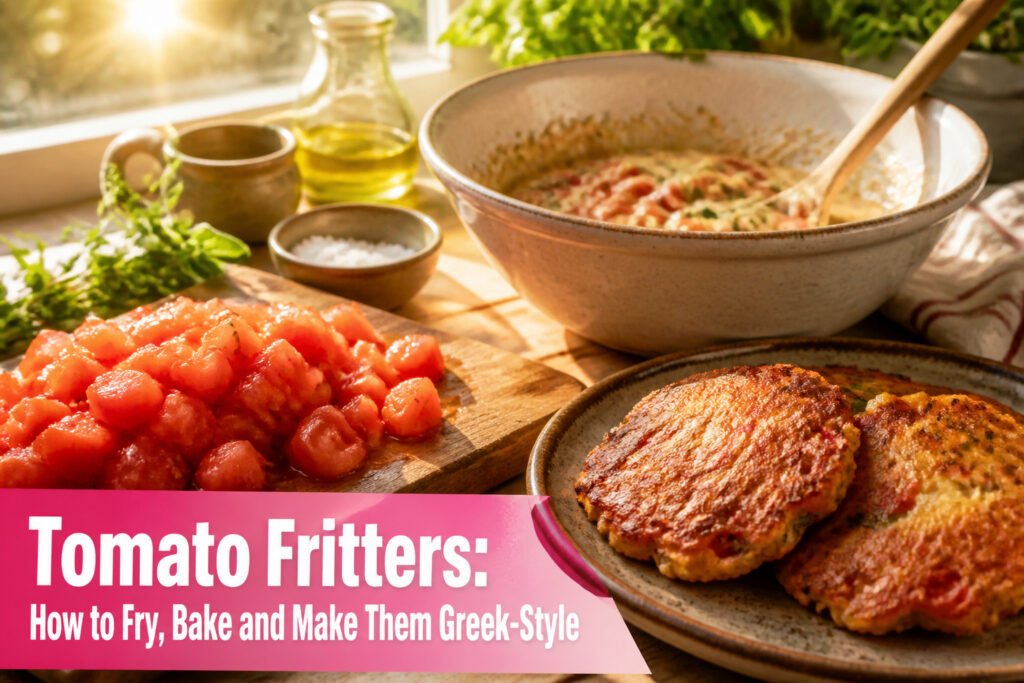
Tomato fritters are small, savory cakes of chopped tomato, flour and herbs, fried until the crust shatters around a soft center. The real work happens before the batter ever hits the pan: ten to fifteen minutes of salting and draining the diced tomatoes, the step that separates crisp fritters from flat, sodden ones that steam in their own juice.
Prepare the Tomatoes

A pound of tomatoes, about 450 grams, is the standard starting weight for a batch of fritters. Cherry or plum tomatoes work best here, their flesh firmer and their water content more predictable than the big slicing tomatoes that flood the market in August.
Chop them into a small to medium dice, then pile the pieces into a colander and salt them generously. Ten to fifteen minutes of draining is the window that matters. The salt draws out the thin, watery juice that would otherwise pool in the batter and leave you with flat, sodden cakes that refuse to crisp. What remains in the colander is concentrated tomato flavor with enough body to hold flour and herbs together. Skip this step and the fritters steam in their own moisture instead of frying; the texture collapses from the first bite.
Mix the Batter
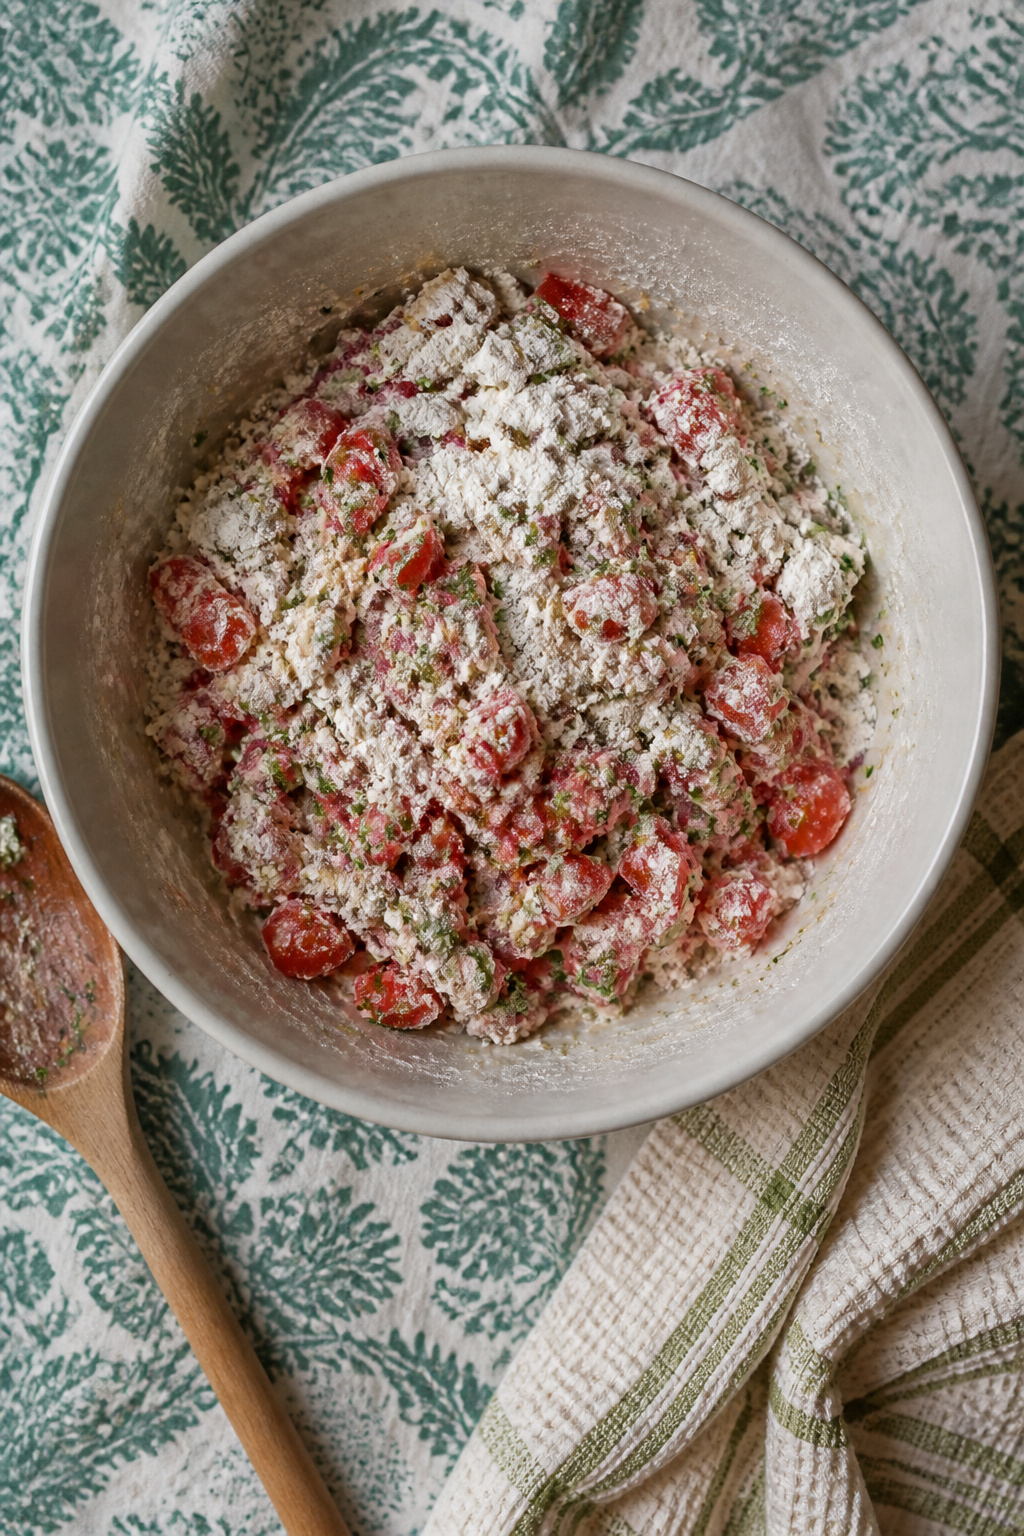
The drained tomatoes go into a bowl with ½ small red onion or 3 spring onions, 2 tablespoons chopped basil or mint, and 1 tablespoon chopped oregano. I reach in with my hands and give everything a light squeeze, softening the tomatoes just enough that they start to give up their juices. That liquid is what determines how much flour you will need, so the amount is never fixed.
Gradually add about 1¼ cups of all-purpose flour, stopping when the mixture thickens into something like chunky pancake batter. A gluten-free flour mix works here, though it may take slightly more or less to reach the same thickness. Chickpea flour is another option, but it pulls moisture more aggressively than all-purpose, so you will need to cut the amount and accept that the flavor shifts; the tomato still comes through, just against a nuttier background. The batter should hold its shape when lifted, not run off the spoon.
Chill the Mixture

Chilling the batter firms it up enough that the fritters hold together in hot oil instead of spreading into flat, greasy discs. The cold tightens the proteins in the egg and slows the flour’s hydration, giving you a thicker, more scoopable mixture. Thirty minutes is the floor, an hour is better, and overnight in the refrigerator is where the flavor really settles in. During that rest, the salt draws moisture from the tomatoes and then the tomatoes reabsorb it, so the taste becomes more uniform and less watery at the edges. Herbs soften too, losing their raw bite without going dull. If you are frying tomorrow, make the batter tonight. The bowl sits fine under plastic wrap, and you save the only real waiting time in a recipe that otherwise moves fast.
Heat the Oil

A half cup of vegetable oil goes into a heavy skillet set over medium heat. I wait until a pinch of batter dropped into the center sizzles the instant it hits, with bubbles racing up around the edges. No thermometer needed, and none of the recipes I trust give a number anyway. The sound is the signal: a gentle hiss means the oil is still warming, but that aggressive, immediate sizzle says you are ready to fry. If the test drop sinks and sits, the fritters will soak up oil before they ever brown. If it spits and blackens in two seconds, pull the pan off the heat for thirty seconds and dial the burner down a notch. The window between too cool and too hot is wider than you would think, maybe a full minute of heating, so that first test matters more than timing it.
Fry the Fritters
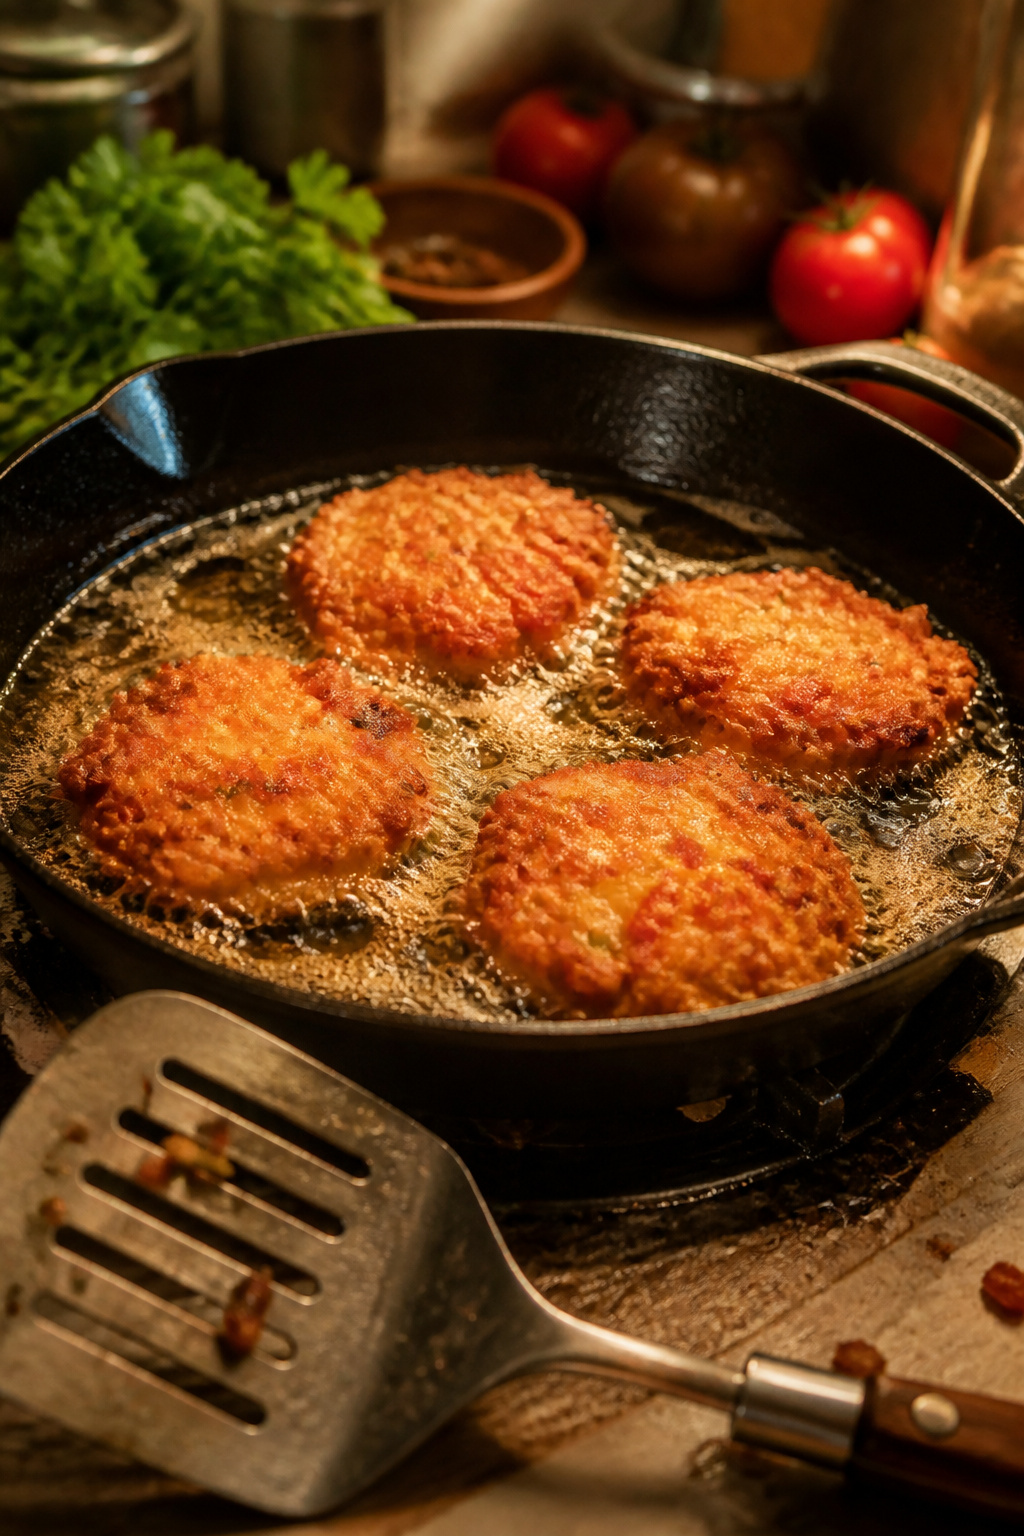
A heaping tablespoon of batter into the oil is the right size for a single fritter. The back of the spoon presses it into a rough patty, maybe half an inch thick, which matters more than the shape. Two to three minutes on the first side, then two minutes after the flip, gets the crust to a deep gold without opening the middle to check. That opening is where I used to lose them; the steam escapes, the center never firms up, and you end up with a greasy tomato pancake.
Medium heat sounds vague until you watch the bubbles. Vigorous foam around the edges means the oil is too hot and the outside will scorch before the interior sets. Barely a sizzle means the batter drinks oil instead of frying. The sweet spot is steady, small bubbles and a faint hiss. A batch this size yields ten to twelve fritters, which is enough to test one, adjust the flame, and still feed whoever is waiting in the kitchen.
Drain and Serve

A paper towel-lined plate set close to the stove catches the fritters as they come out of the oil. Let them rest there for a minute or two; the towel pulls off the surface grease and the brief wait keeps you from burning your mouth on a fritter that is still fragile inside. Serve them warm, not piping hot, when the crust has settled enough to pick up without cracking.
Tzatziki is the classic pairing, and the simplest version is thick Greek yogurt seasoned with salt, pepper, a squeeze of lemon, and a little grated garlic if you want the bite. I have also served them with plain yogurt when I was out of dill and did not feel like making the full sauce. Both work.
The batter itself can be made a day ahead and kept refrigerated, covered. Pull it out about ten minutes before you plan to fry so it loosens enough to scoop. That timing makes this a viable weeknight project even if the prep happens Sunday afternoon.
Greek-Style, Vegan, Baked and Spiced
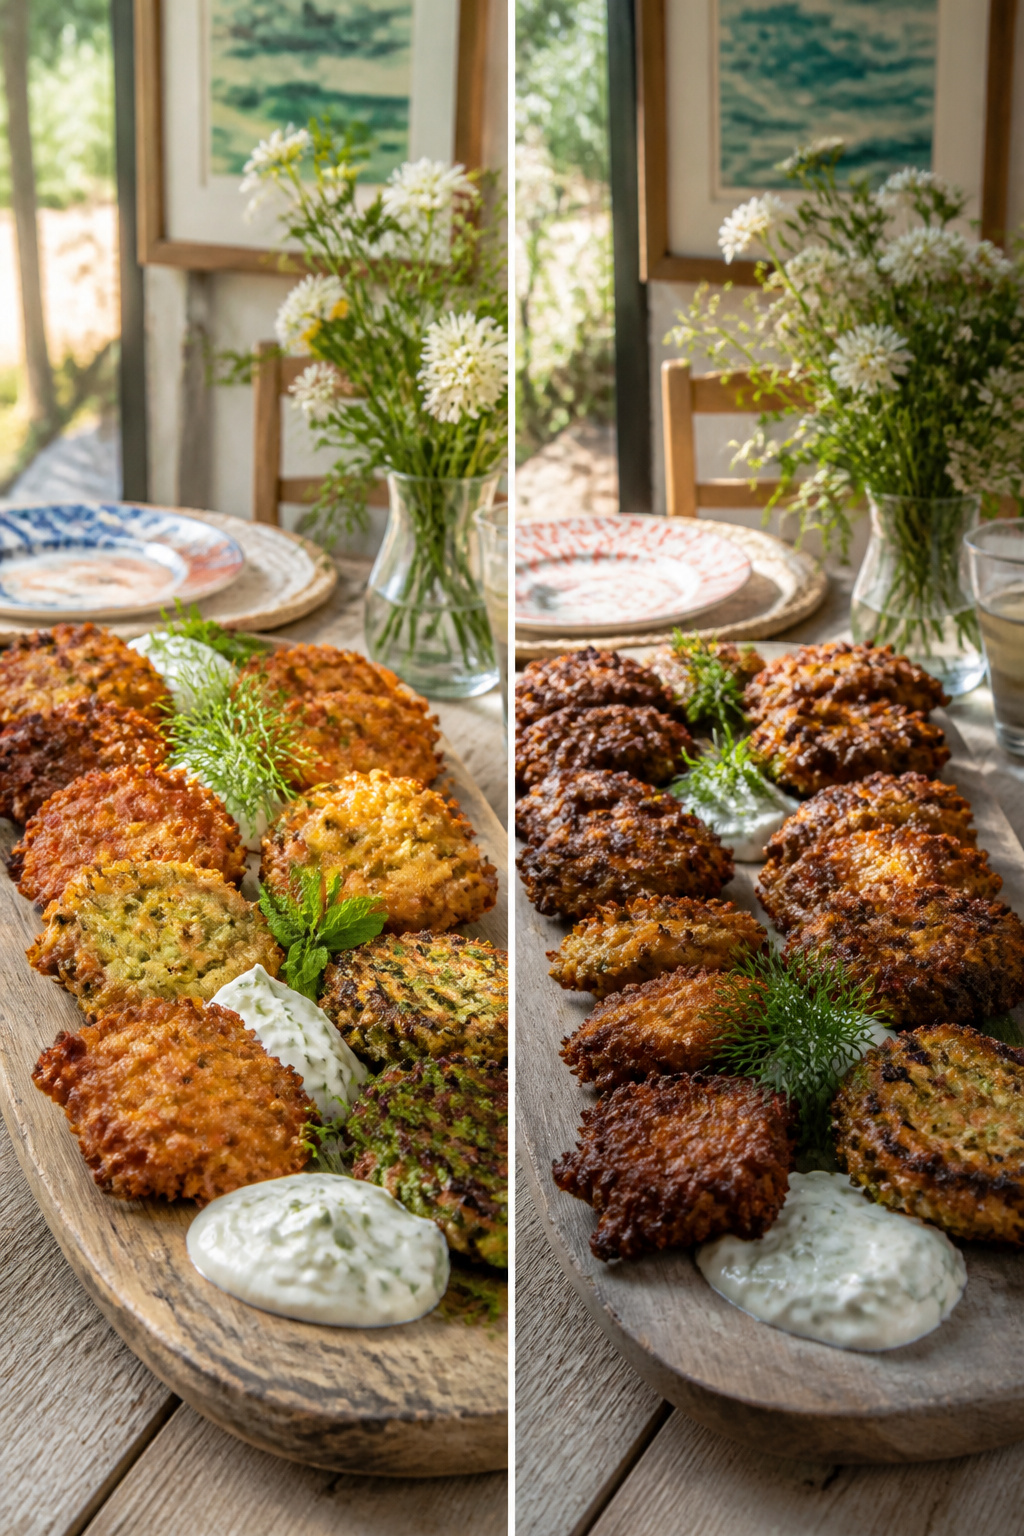
The four ways I reach for tomato fritters depend on what the evening demands.
- Greek-style means fresh mint and dried oregano in the batter, with tzatziki on the side instead of ketchup. The herbs go in at the end so they do not turn bitter in the hot oil.
- Vegan swaps the egg for chickpea flour whisked into water until it thickens like beaten egg. I have also used a gluten-free all-purpose blend when guests need it; the fritters hold together but turn softer in the center.
- Baked at 390°F on an oiled sheet pan gives a healthier weeknight option, though the crust never shatters the way a fried one does. Flip them halfway, and expect twenty to twenty-five minutes.
- Spiced adds a pinch of cinnamon to the batter, or doubles the herbs with dill and parsley when mint is scarce. The cinnamon reads subtle; some guests notice only that the fritters taste more complex, not why.
Frying vs. Baking

The choice between frying and baking tomato fritters comes down to what you are willing to trade. Frying gives you the shattering crust that makes a fritter worth eating, the kind that cracks when you bite and holds the soft tomato center. Baking skips the oil bath and the spatter guard, but the exterior turns leathery instead of crisp and the interior steams more than it sets.
| Frying | Baking | |
|---|---|---|
| Texture | Crisp, lacy crust; tender center | Soft, slightly chewy exterior; moist interior |
| Active time | 15–20 minutes at the stove | 5 minutes to shape, then hands-off |
| Cleanup | Oil to strain, splatter to wipe | One sheet pan, no oil disposal |
I fry when I want the real thing and I have the evening for it. I bake when I am feeding kids who will not notice the missing crunch and I would rather load the dishwasher than stand over a skillet. Both work. Neither is the same dish.
Flour and Herb Choices

The flour you choose for tomato fritters changes the texture more than the taste. All-purpose flour gives you the cleanest tomato flavor and the easiest batter; it is the blank slate that lets the herbs and feta do the work. A gluten-free all-purpose mix, like King Arthur’s, works without other adjustments and produces fritters that are crisp outside and soft within. Chickpea flour is the outlier: it is far more absorbent than wheat flour, so the same volume turns the batter stiff and heavy. If you want the nutty, golden color it gives, start with less and add small amounts until the mixture still drops easily from a spoon.
Herbs are where the regional argument starts. The classic Greek combination is mint, parsley, and dill in roughly equal parts, with a smaller measure of dried oregano for depth. Basil shifts the profile toward Italian; it is not wrong, but it covers the tomato instead of sharpening it. I would skip basil unless that is the direction you want the whole plate to go.
| Flour or Herb | What It Does | Adjustment Needed |
|---|---|---|
| All-purpose flour | Clean flavor, reliable structure | None |
| Gluten-free all-purpose mix | Similar texture, slightly less chew | None |
| Chickpea flour | Nutty, dense, golden color | Reduce amount; batter absorbs more |
| Mint + parsley + dill | Bright, classic Greek profile | Use fresh, roughly equal amounts |
| Oregano | Earthy backbone | Use dried, about 2 tsp per batch |
| Basil | Sweet, dominant | Not recommended for Greek-style |
What Goes Wrong
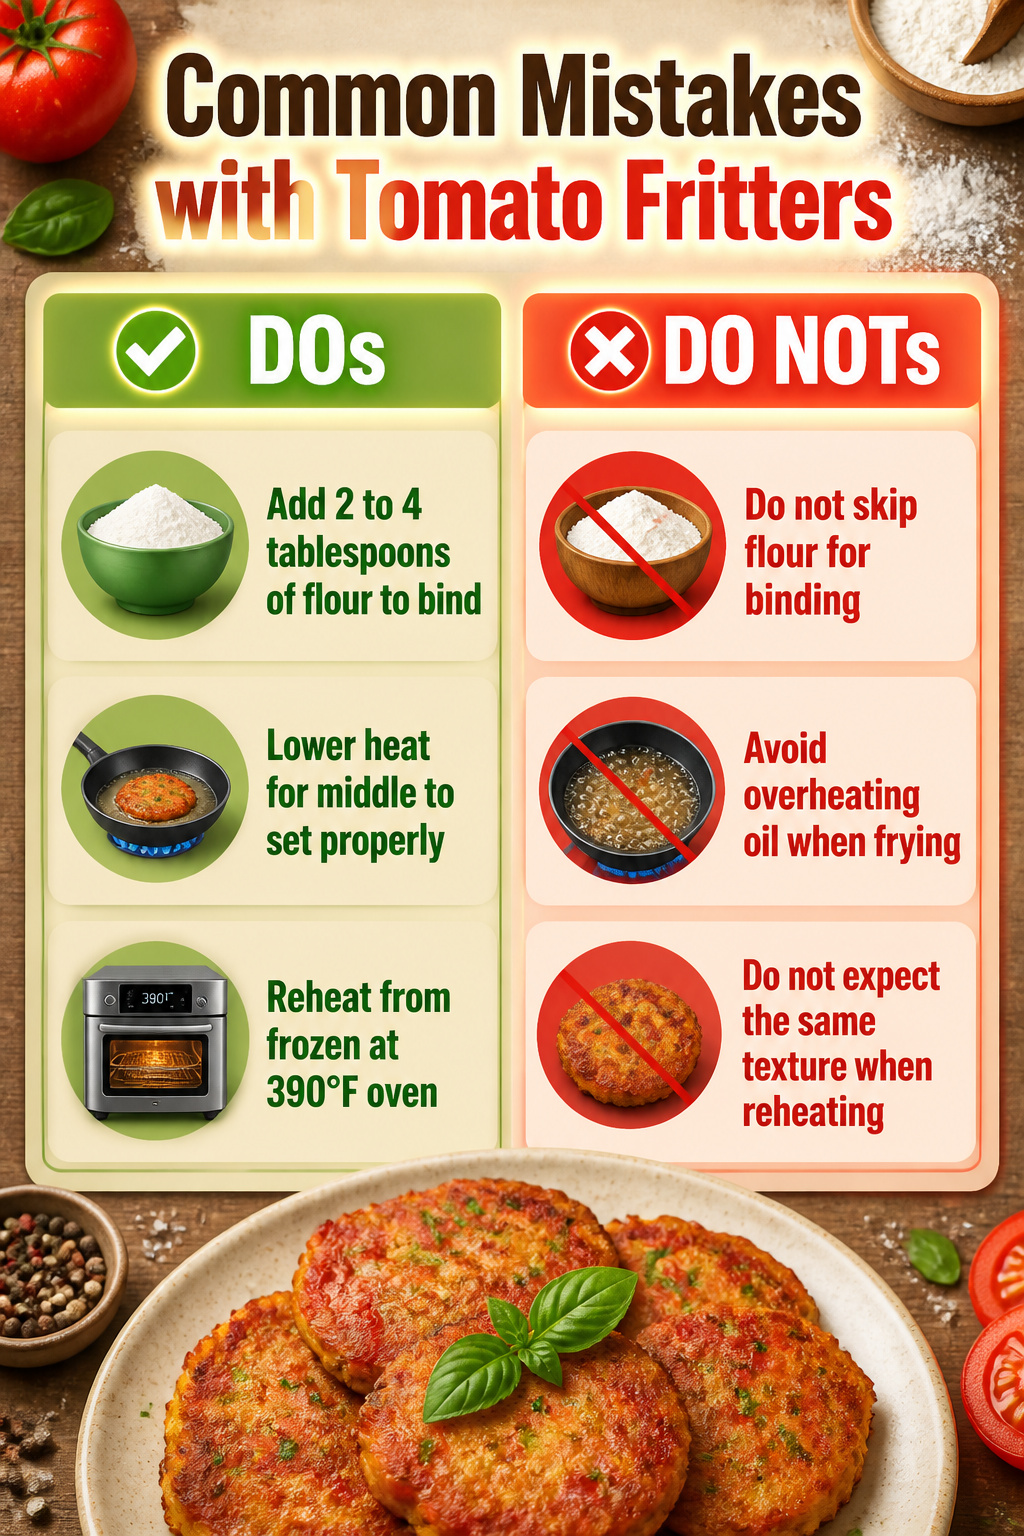
Three problems tend to trip people up with tomato fritters, and each has a straightforward fix.
- Fritters falling apart usually means the batter lacks enough binding. Add 2 to 4 tablespoons of flour and let the mixture sit a minute so the flour hydrates before the next batch hits the pan.
- Sogginess in the middle comes from oil too hot, which crisps the outside before the interior sets. If the fritters bubble violently the second they land, lower the heat slightly and give them 2 to 3 minutes undisturbed on the first side, then 2 minutes on the second.
- Freezing and reheating works fine. Shape the patties, freeze them flat on a tray, then bag them. Reheat straight from frozen in a 390°F oven or an air fryer. The texture will not match fresh-fried, but the flavor holds up well enough for a weeknight.
Frequently Asked Questions
How do you fix fritters that fall apart?
Add 2 to 4 tablespoons of flour and let the mixture sit a minute so the flour hydrates before frying. The extra binding firms up the batter enough that the fritters hold together in hot oil. Test one before committing the whole batch.
Why are my fritters soggy in the middle?
The oil is too hot, which crisps the outside before the interior sets. If the fritters bubble violently the second they land, lower the heat slightly and give them the full 2 to 3 minutes undisturbed on the first side, then 2 minutes on the second. Opening them early lets steam escape and the center never firms up.
Can you freeze and reheat fritters?
Shape the patties, freeze them flat on a tray, then bag them once solid. Reheat straight from frozen in a 390°F oven or an air fryer. The texture will not match fresh-fried, but the flavor holds up well enough for a weeknight.