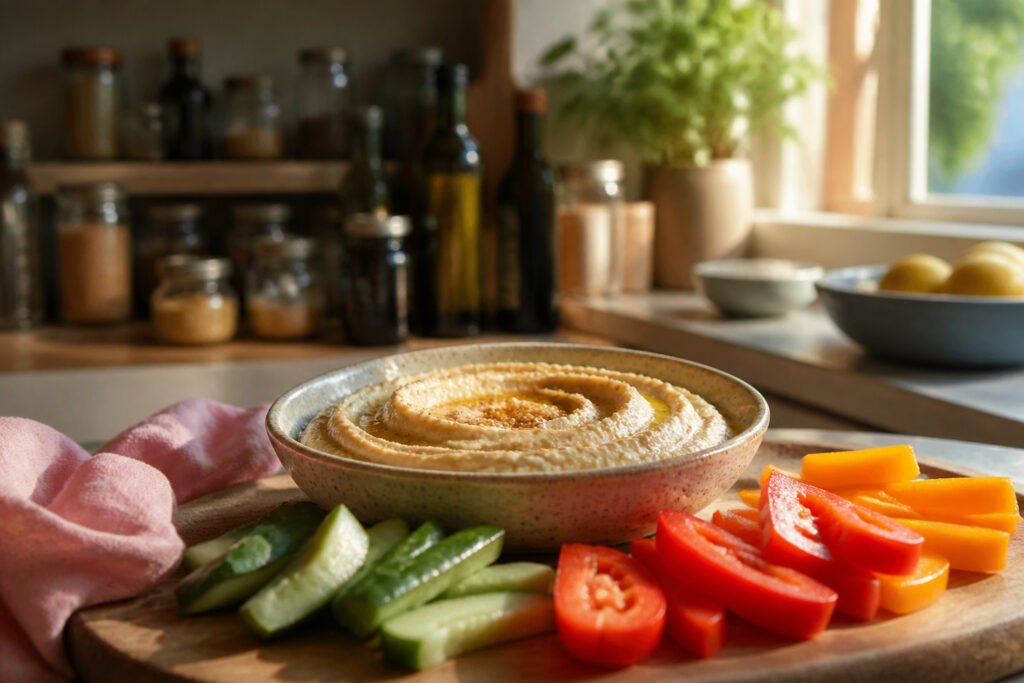
The best hummus you make at home will come from chickpeas simmered twenty minutes past what the can promises, with ice water whipped in at the end for that light, almost pillowy texture store-bought versions never quite reach. That extra step costs time, and on a weeknight the shortcut still works; the difference is real but small enough that most tables won’t complain.
1. Prepare the Chickpeas
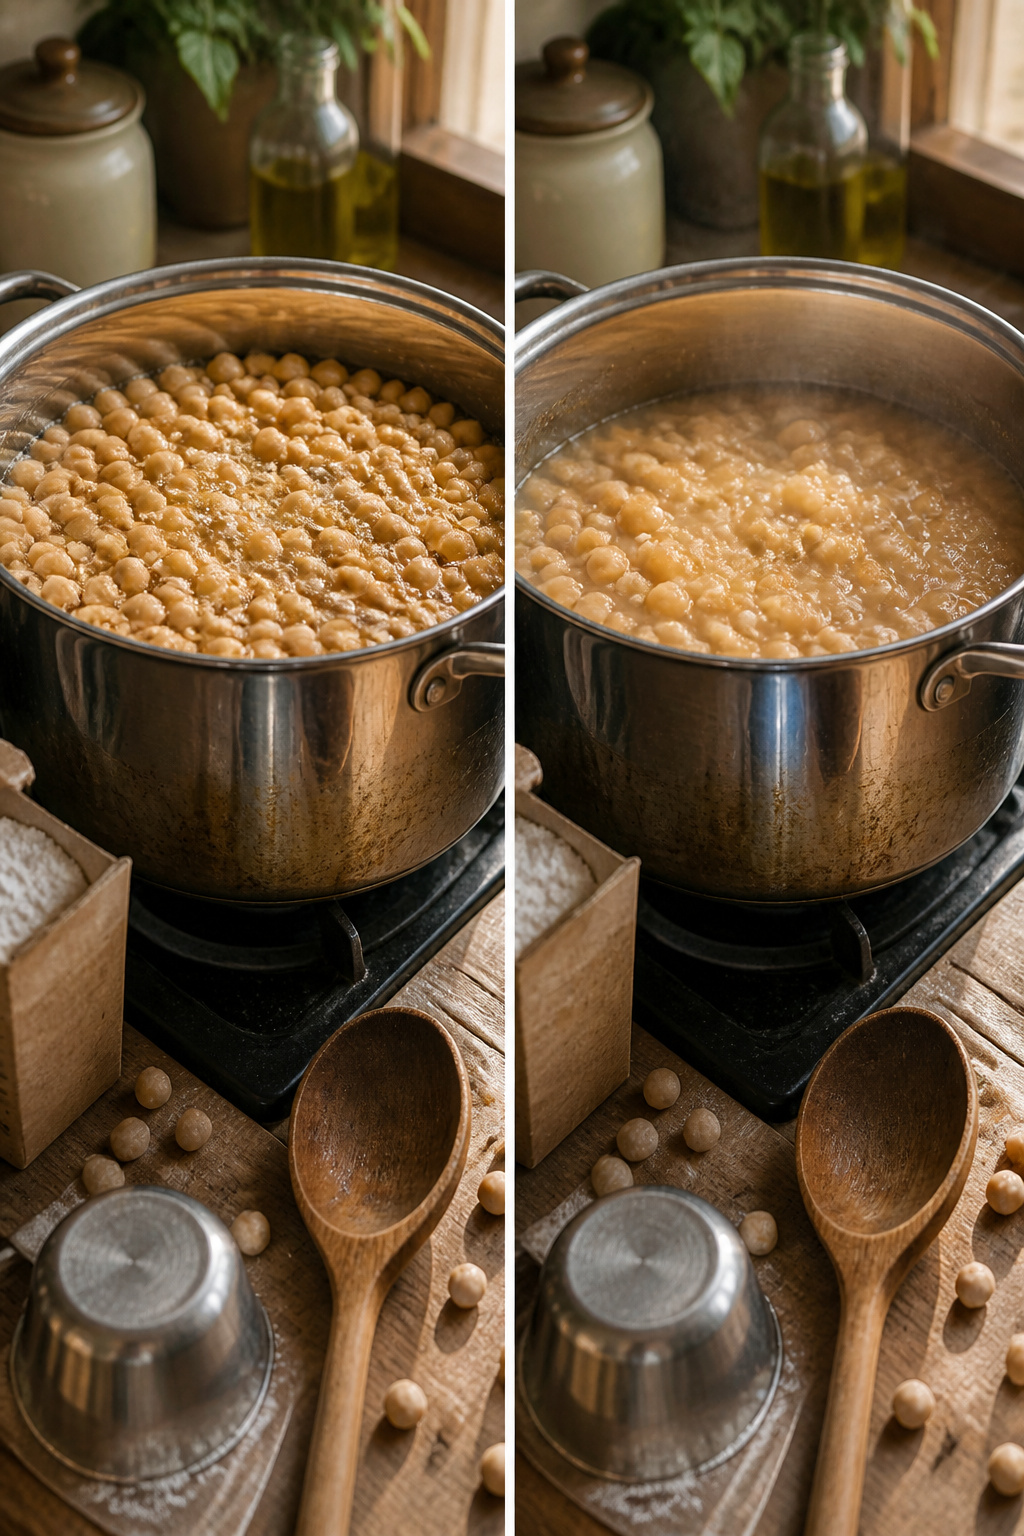
Canned chickpeas need 20 minutes of simmering after you drain and rinse them. Cover them with an extra inch or two of water, bring to a simmer, and let them go. The skins loosen, the centers soften past that slightly firm canned state, and the blender has less work to do.
Dried chickpeas take overnight soaking plus one and a half to two hours of simmering the next day. The baking soda trick works for either path: add one and a half teaspoons to hot water, let the chickpeas sit a few minutes, then rub them under running water. Skins slip off and float away.
I have tried peeling and skipped it. The simmered canned beans with baking soda get smooth enough that standing at the sink rubbing individual chickpeas feels like time I could spend on something else. The difference is real but small, and for a weeknight batch, negligible.
Recommended Products
CANNED GARBANZO BEANS: Chickpeas slow-simmered in a rich tomato and olive oil sauce with flavorful Tuscan-style herbs STOCK YOUR PANTRY: Buy in bulk with this pack 12, 15.5...
2. Blend the Core Ingredients
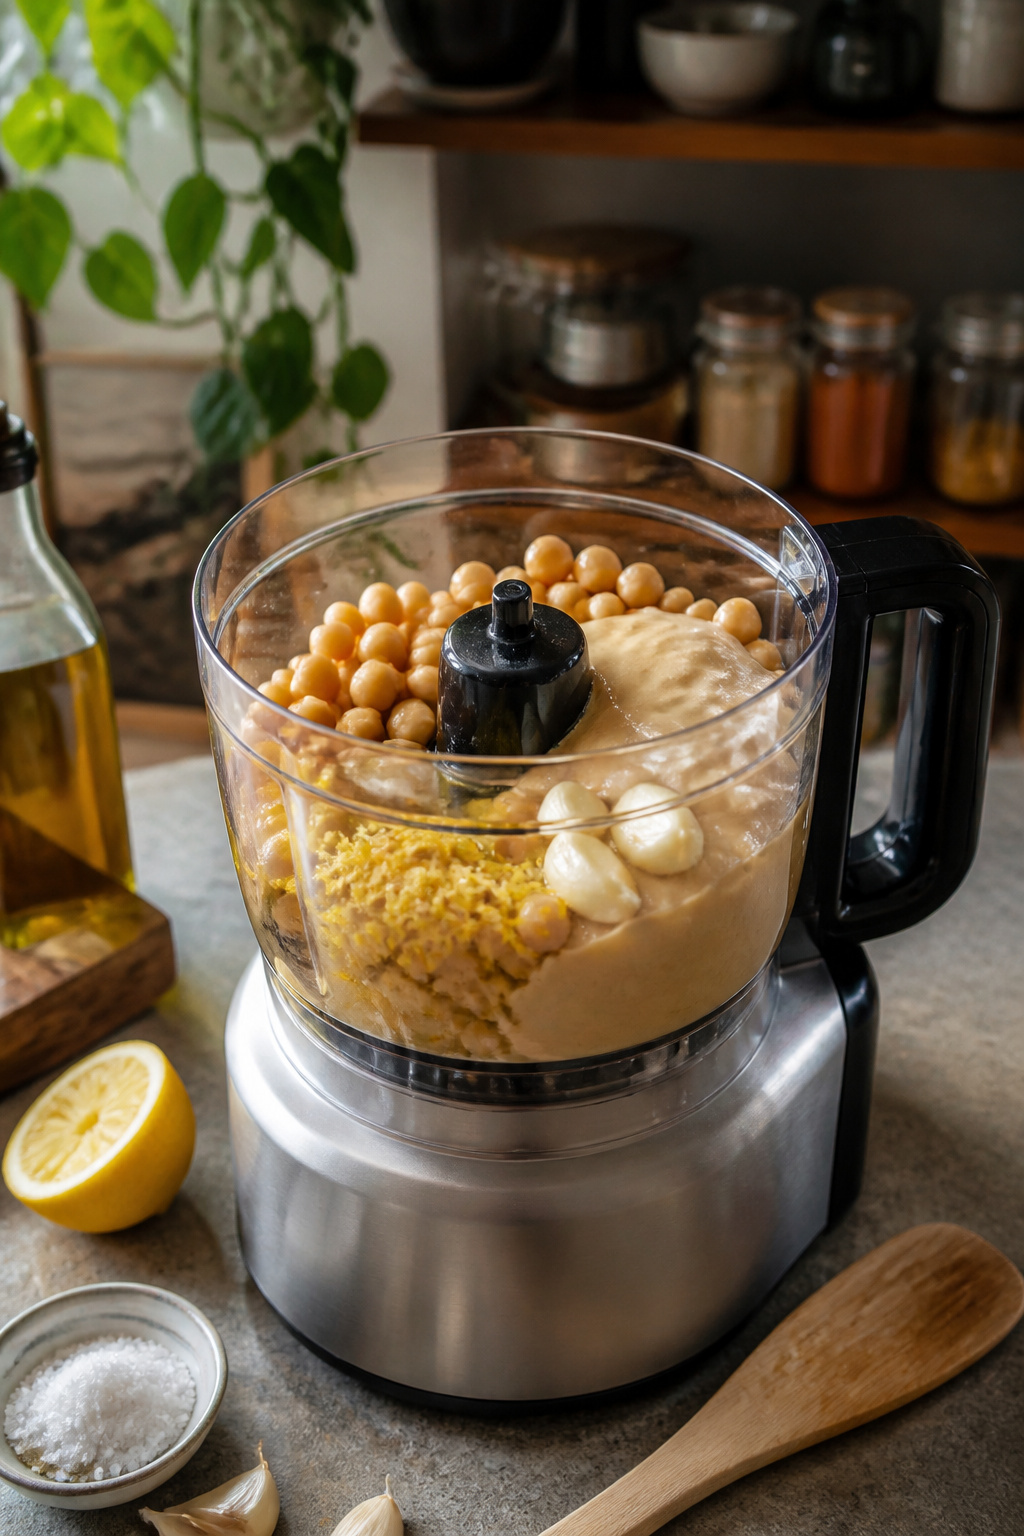
One 15-ounce can of chickpeas, drained, goes into the food processor with ¼ cup well-stirred tahini, the juice from one large lemon (about ¼ cup or 60ml), and one to three garlic cloves depending on how much bite you want. I add two to four tablespoons of olive oil here for blending, plus ½ teaspoon of salt. Some cooks whip the tahini and lemon first for a creamier base; others dump everything at once and pulse until smooth. Both work.
Tahini quality matters more than most pantry staples. Soom, Cedar’s, and Seed & Mill are the brands that keep coming up in conversations about hummus that actually tastes like something. The oil separates, so stir the jar thoroughly before measuring. A ¼ cup of properly mixed tahini gives the right sesame backbone without turning the blend pasty. If the mixture stalls out thick and grainy, a splash of cold water or reserved chickpea liquid loosens it without thinning the flavor the way more oil would.
Recommended Products

LEMON GARLIC HUMMUS: Simplicity is our philosophy. We, naturally, paired up two of history’s most popular ingredients: zesty lemon and savory garlic, for a flavor combo that rocked the world (of hummus, but why stop there?). Bright, full-bodied, and worth obsessing over.

ALL NATURAL HUMMUS & TAHINI SEASONING TOPPER will take your dips to the next level in flavor and presentation. Just drizzle a little olive oil onto your hummus or tahini and sprinkle our mouth-watering seasoning mix on top! Your hummus and tahini will look elegant and taste delicious! Perfect for entertaining and wowing your guests. Ingredients include: Paprika, Sumac, Coriander, Parsley, Garlic, Cumin, Black Pepper, Hyssop.

Puréed garbanzo beans with tahini and lemon juice
3. Adjust the Consistency
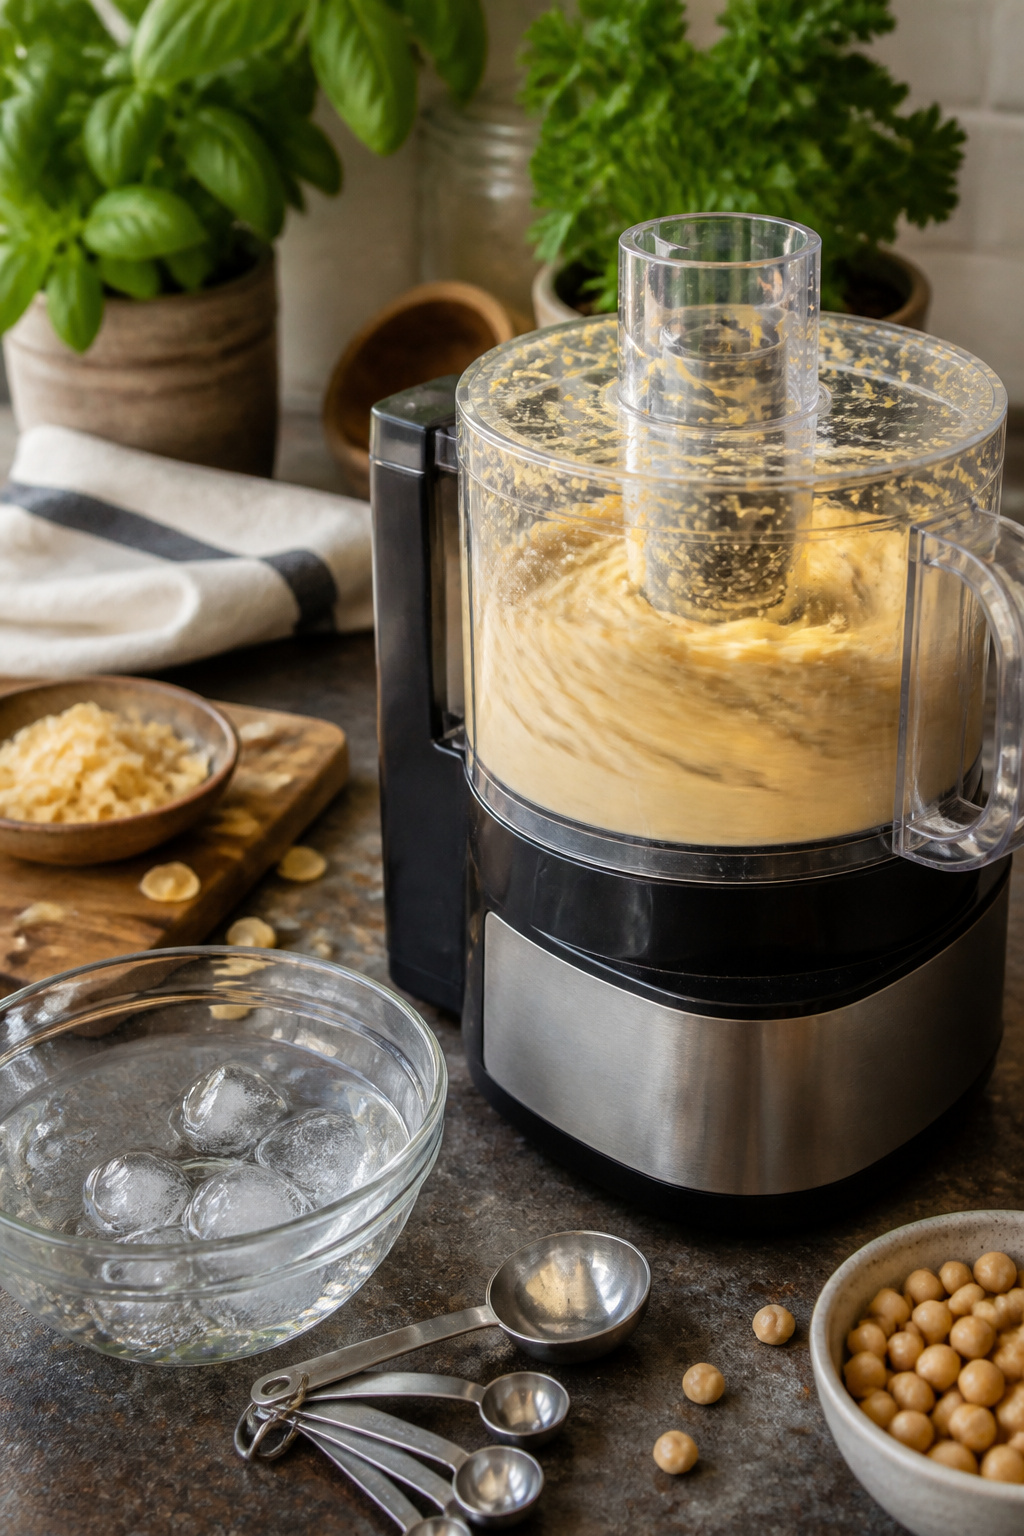
The difference between a thick paste and something you actually want to drag pita through comes down to 2–6 tablespoons of ice water, added while the machine is running. Cold water shocks the emulsion and whips air into the tahini, giving the hummus a lighter, almost pillowy texture that room-temperature liquid never quite achieves.
Aquafaba, the liquid from the can of chickpeas, works as a substitute if you want to use what you already have. Most recipes that mention it call for roughly the same amount, 2–3 tablespoons, though a few sources push that to 4–6 tablespoons to match the water range. The bean liquid adds a little more body and a faint savory depth, but the tradeoff is a slightly denser finish. Ice water wins for fluff; aquafaba wins for thrift and a touch more richness.
Start with the lower amount and add by the tablespoon once the core ingredients are already blended. The hummus will thicken as it chills, so stop when it looks a little looser than you want. A full 4 to 5 minutes of blending is what lets the water do its work; rushing this stage leaves the texture grainy no matter how much liquid you add.
Recommended Products

✔ Original Formula for Strong Peaks & Consistency. Fast whipping and good hold. Engineered for kitchens, bakeries, bars, large scale uses, and food manufacturing.

REPLACES 33 EGG WHITES IN ONE BOTTLE — One 1L bottle of Very Aquafaba is equivalent to 33 egg whites, making it an incredibly efficient and cost-effective alternative for bakers, pastry chefs, and mixologists. Use it in the same proportions as egg whites with consistent, professional results every time.

✔ Premium Plant-Based Egg Replacer – Trusted by 1,000+ Chefs & Bartenders. Saheli delivers pro-level results for home and commercial use. Whips, foams and binds like eggs, without cholesterol or allergens.
4. Taste and Fix the Seasoning
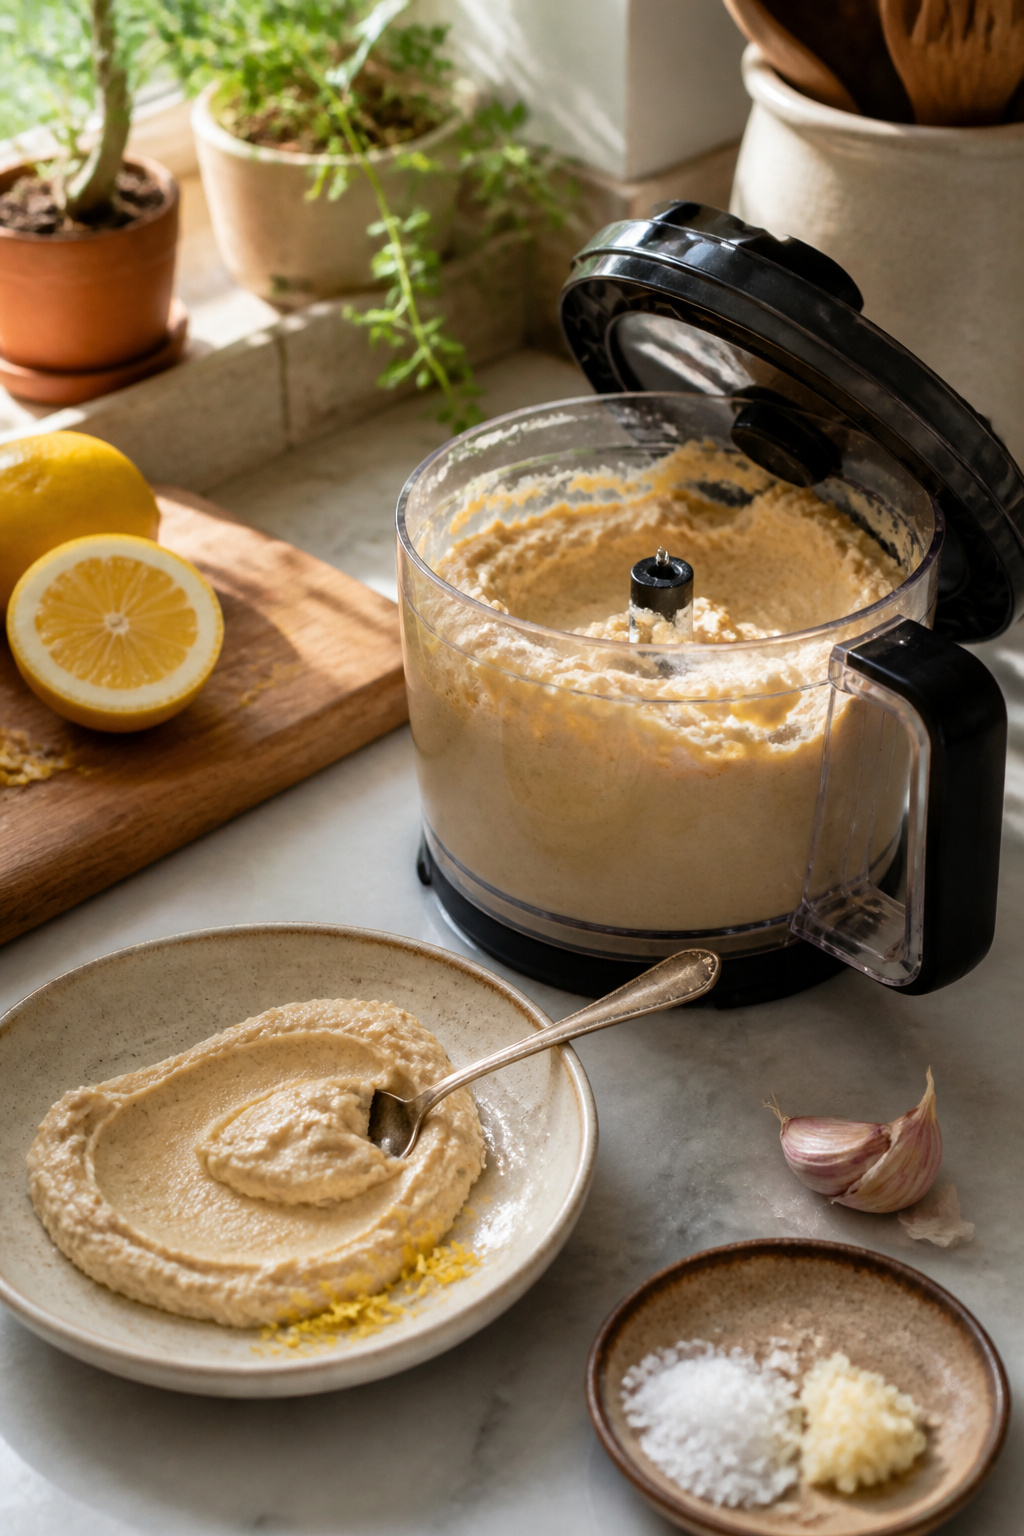
The moment the blade stops is when the real work starts. I pull the processor lid off and taste with the back of a spoon, because the sides always hide grit the center doesn’t. Salt first: chickpeas need more than you think, and the tahini dulls it. Lemon juice second, a teaspoon at a time, since cold water already went in and the acid wakes everything back up. Garlic last, grated fine and folded in, because raw garlic intensifies as it sits and 4 to 5 minutes of blending gives it plenty of time to bloom.
The texture tells its own story. Run the machine too long chasing silk and you get soup: thin, weeping oil, irreversible without more chickpeas or tahini to build it back. Stop too early and the grit stays, that sandy catch between tongue and palate that no amount of lemon can fix. The sources split on timing, but 4 to 5 minutes is the window that actually works in a standard home processor. Let it rest five minutes in the bowl, then taste again. Hummus tightens as it chills, so pull back one shade from where you think it should land.
Recommended Products

Goya Foods Chick Peas, Garbanzo Beans, Dry, 16 Ounce (Pack of 24)


✔️ Garbanzo Beans, a.k.a. chickpeas are a great addition to any meal plan due to their nutritious value.
5. Serve and Store
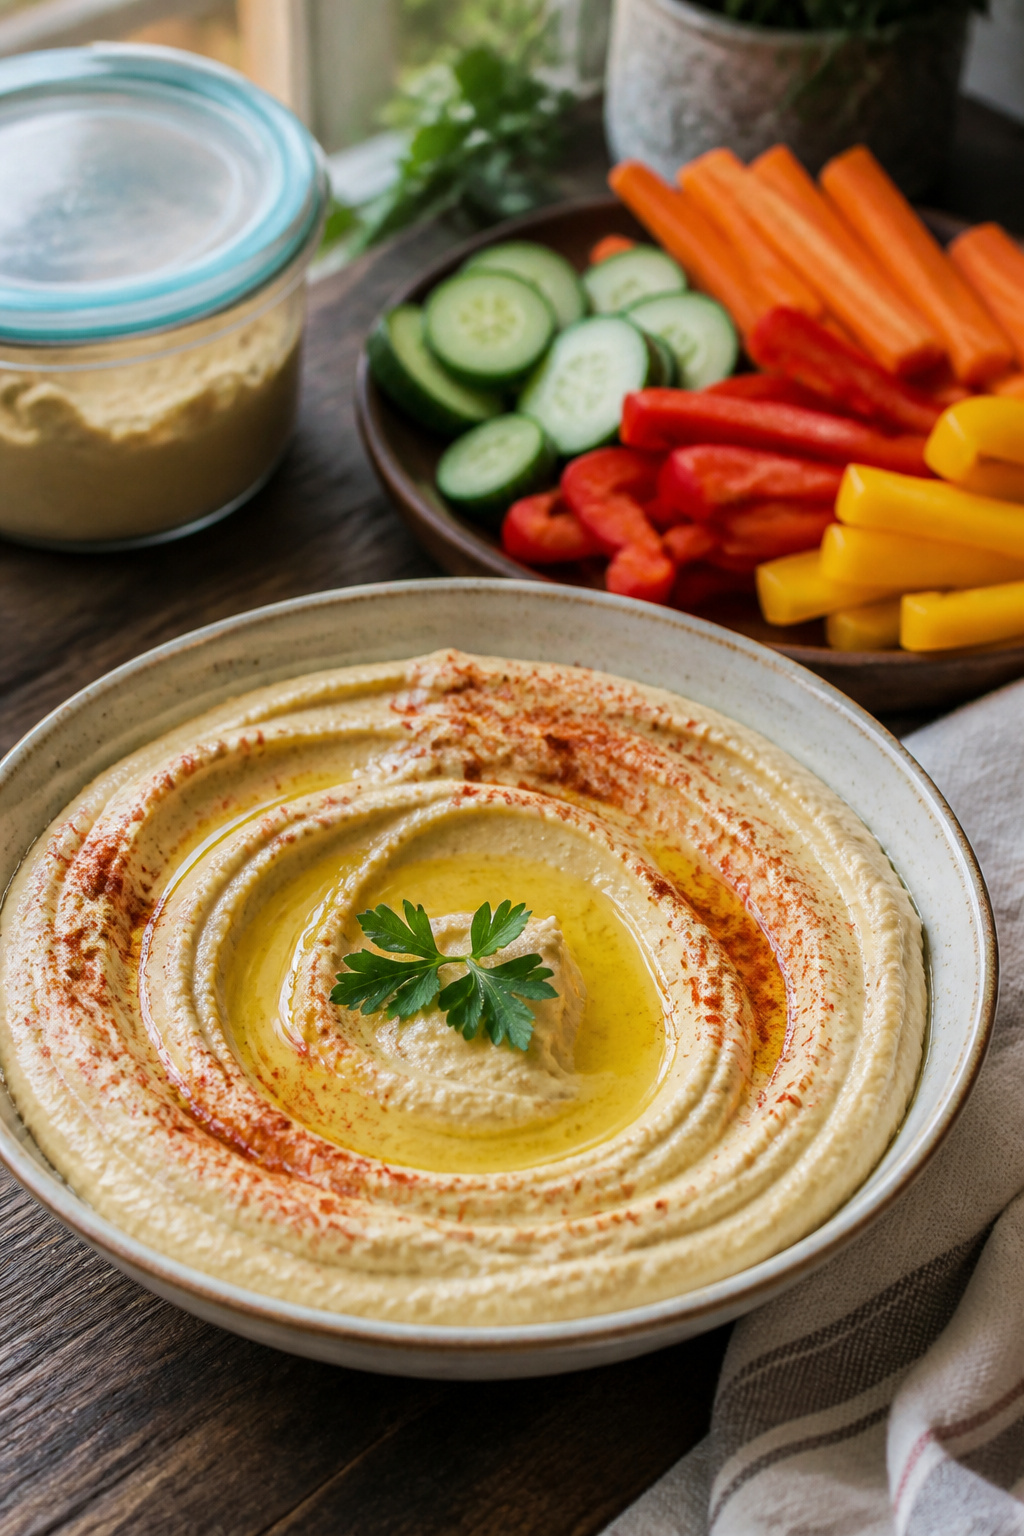
A wide, shallow bowl shows off the swirl you worked into the hummus far better than a deep one. Spoon it in, then run the back of the spoon across the center to make that shallow well for olive oil. A drizzle of good oil across the top catches the light, and from there you build: paprika or sumac for color, chopped parsley or a little lemon zest if you want it bright. Pine nuts work if you have them; roasted red peppers do too.
Store what’s left in an airtight container and it keeps 5 to 7 days in the refrigerator. Some cooks pour a thin layer of olive oil over the surface to help it last; I do this when I know it’ll sit more than a couple days. For longer storage, freeze in small portions up to 3 months. Thaw overnight in the fridge, then stir well. The texture can separate a little; a fresh drizzle of oil and a quick stir usually brings it back. If it still feels dry, a tiny splash of lemon juice helps, though oil is the safer first move so you don’t overshoot into sharpness.
Pita bread is the classic companion, and fresh vegetables keep it light: carrot sticks, cucumber, bell pepper, celery. But hummus spreads onto sandwiches and wraps with the same ease it dips, and thinned with a little water it becomes a quick dressing. The bowl empties faster than you expect either way.
6. Classic Hummus
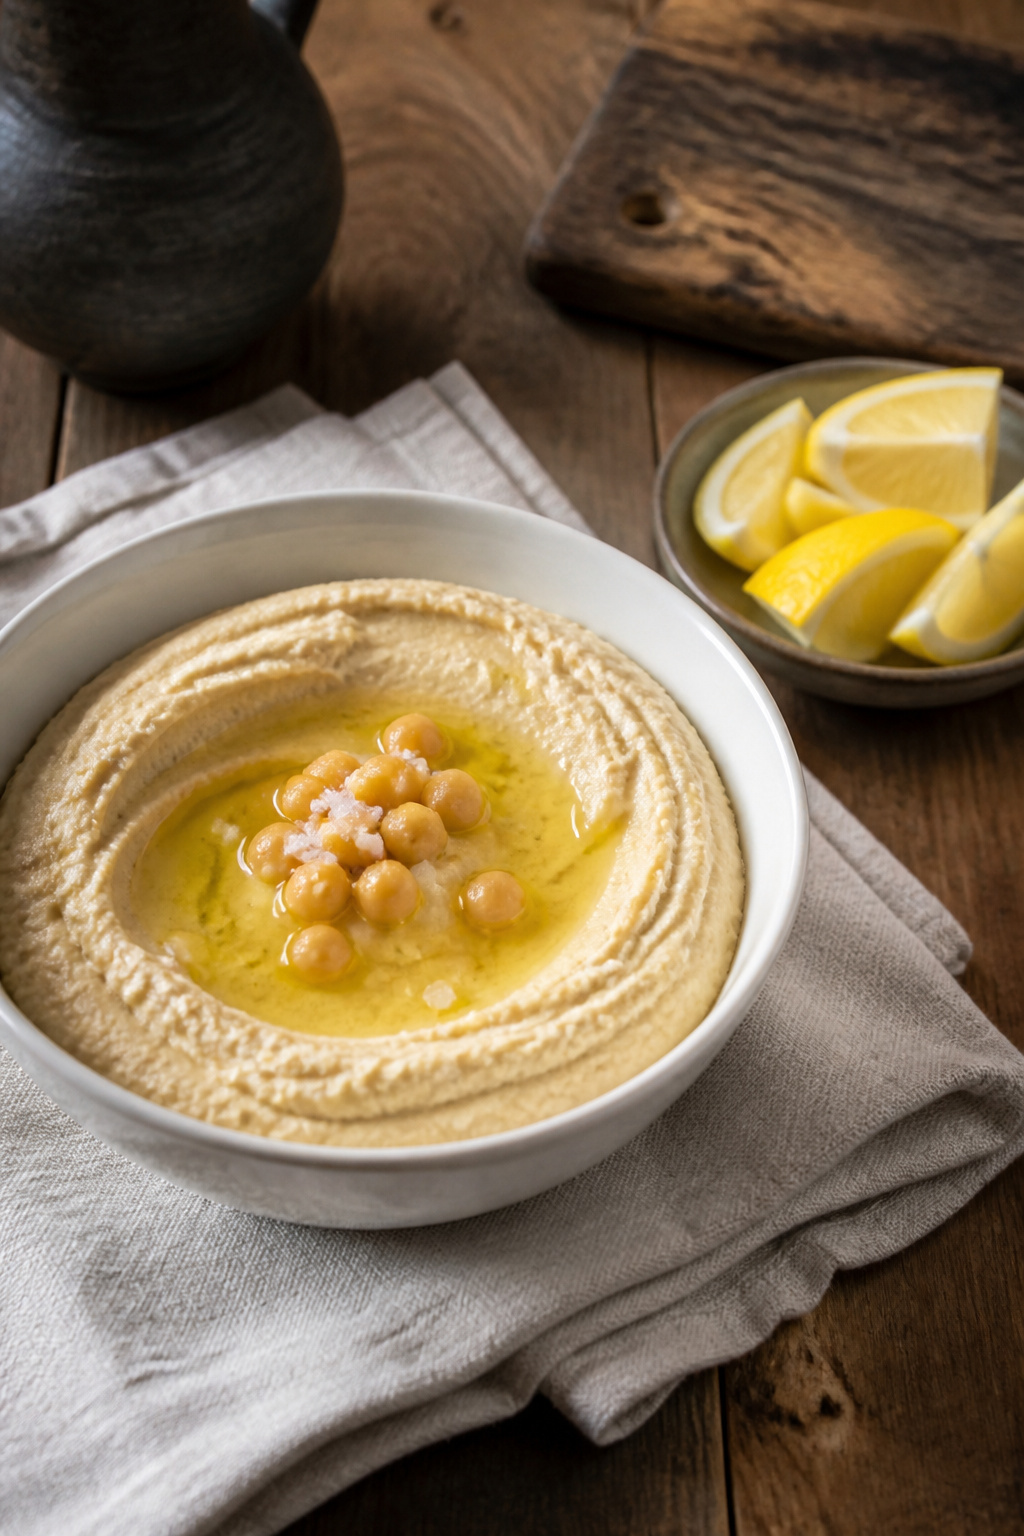
Classic hummus starts with five ingredients that do not negotiate. Chickpeas, tahini, lemon juice, garlic, and olive oil form the base; salt ties them together. Every other style in this article grows from this exact foundation, so getting the proportions right here matters more than any garnish later.
Canned chickpeas work. Cooking dried chickpeas from scratch works a little better, with a slightly deeper flavor and a creamier texture that justifies the overnight soak and boil. Either way, the chickpeas carry the weight; tahini adds nuttiness and body; lemon juice cuts the density; garlic fills the middle; olive oil smooths the blend and finishes the bowl.
Some cooks add cumin. Some let minced garlic rest in lemon juice first to tame its bite. These are small choices that change the character without leaving the style. What does not change is the ratio: too much tahini and the hummus turns pasty, too little and it flattens into bean dip. Start with one clove of garlic and adjust upward; the clove you cannot take back once blended.
Quality shows here more than in most dips. The tahini should taste fresh and sesame-forward, not bitter or separated. The olive oil should be extra-virgin and recently opened; old oil turns harsh. Fresh lemon juice is non-negotiable; the bottled version reads as flat and metallic against the chickpeas.
Blend until the texture is completely smooth, which takes longer than expected in most food processors. A minute or two past "almost there" is usually where the silkiness arrives. Taste, adjust salt, and serve with a drizzle of the same olive oil and a few whole chickpeas if you want the bowl to look finished.
Recommended Products

365 by Whole Foods Market products give you that dance-down-the-aisles feeling, virtual aisles too! Our huge range of choices with premium ingredients at prices you can get down with makes grocery shopping so much more than tossing the basics in your cart.

RICH, NUTTY FLAVOR: Made from 100% pure sesame seeds, Sesame King Tahini adds a subtle yet robust flavor to any dish. Whether you're crafting dips, dressings, sauces, or baked goods, this tahini enhances both sweet and savory recipes with its mild, nutty taste.

SMOOTH, CREAMY TEXTURE EVERY TIME -- Tired of battling oily, separated tahini paste that clumps at the bottom? LiOR stone ground sesame butter blends to a consistently smooth, creamy consistency that stirs effortlessly and stays velvety from first scoop to last. Spread it, drizzle it, or whisk it into sauces -- it mixes beautifully without the mess.
7. Roasted Red Pepper Hummus
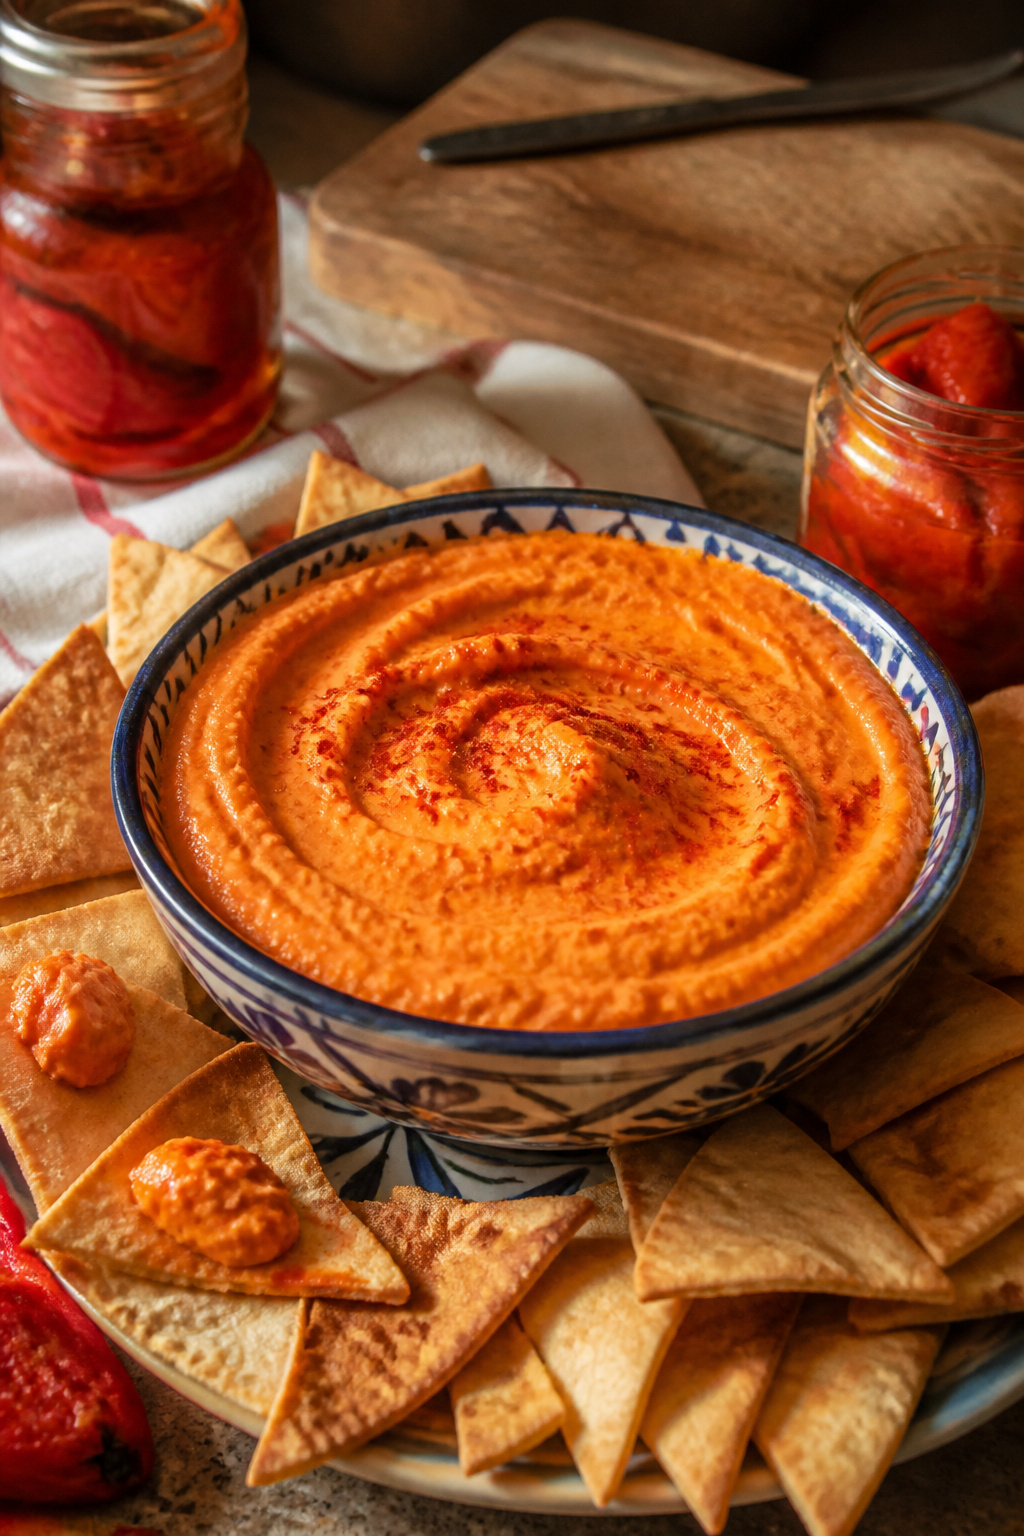
Roasted red pepper hummus is the variation most likely to turn up in a grocery aisle, and for good reason. One to two whole jarred peppers, drained well so the dip doesn’t thin out, blend straight into a classic batch for sweetness and that deep orange color. Some cooks stop there; others add a pinch of smoked paprika for extra depth. The range matters more than you’d think. Budget Bytes and Love and Lemons both land on 1–2 peppers, while Nora Cooks tightens it to 3/4 cup and Ela Vegan splits the difference at 1–2 peppers plus optional cayenne. The jar is your friend here. Roasting your own peppers is a fine Saturday project, but the preserved kind keeps this a weeknight move. Smoked paprika is worth keeping on hand if you make this often; without it, the sweetness can run a little flat.
Recommended Products

✔ Original Formula for Strong Peaks & Consistency. Fast whipping and good hold. Engineered for kitchens, bakeries, bars, large scale uses, and food manufacturing.

✔ NEW Improved Formula for Stronger Peaks & Consistency. Faster whipping and better hold. Engineered for kitchens, bakeries, bars, large scale uses, and food manufacturing.
8. Garlic Hummus
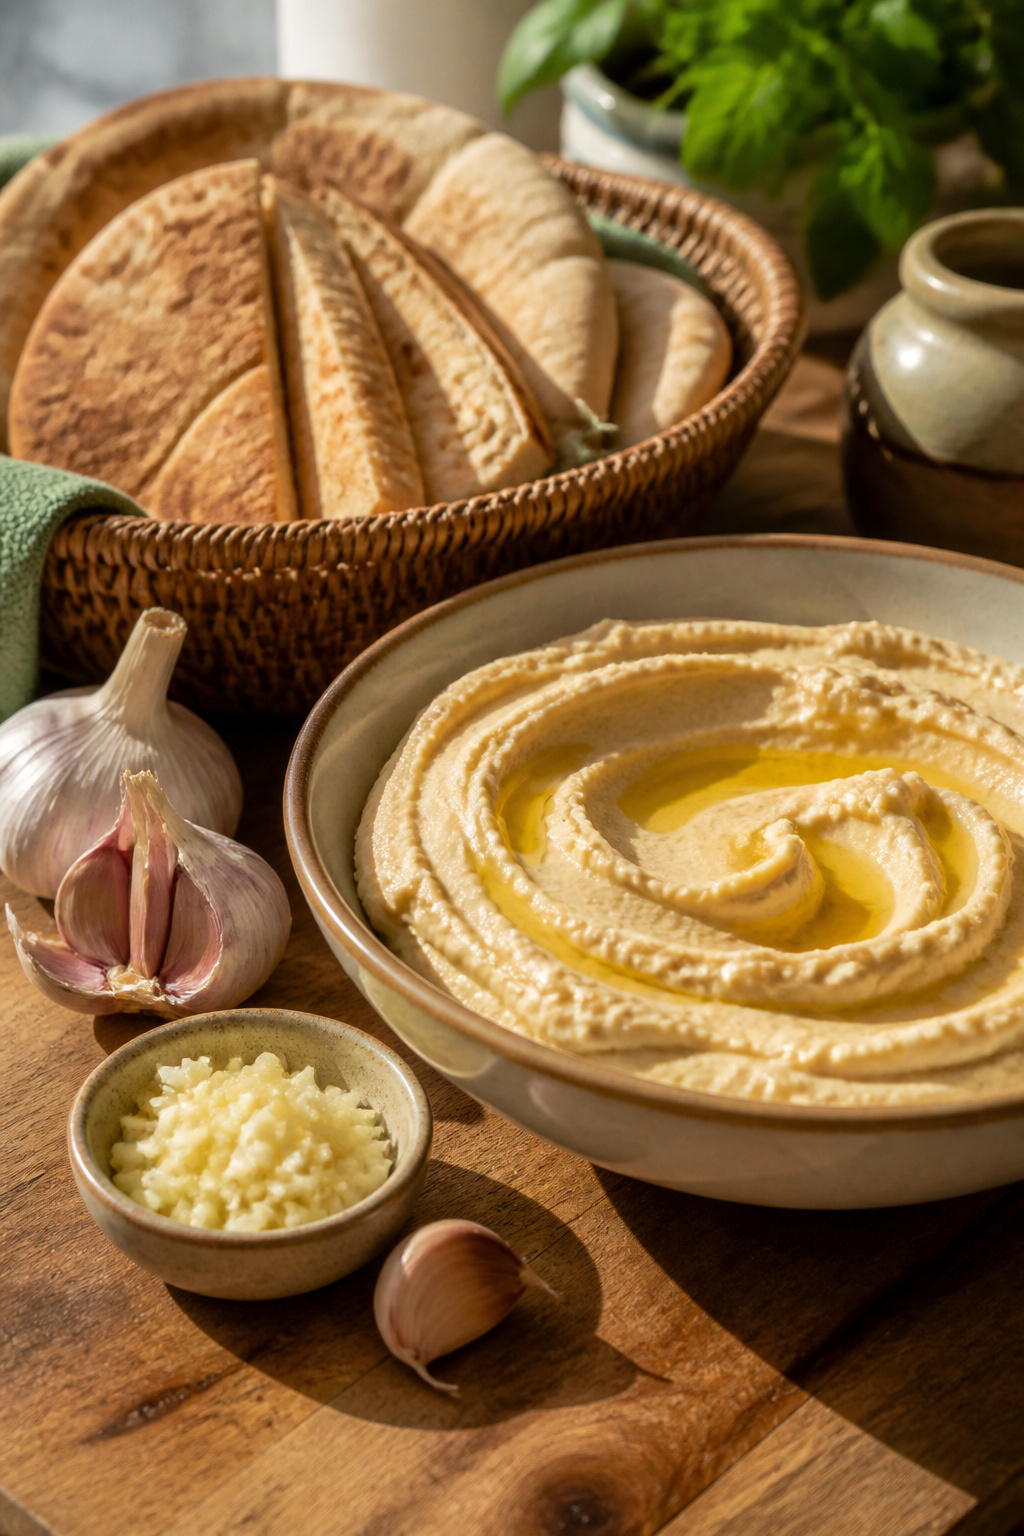
Raw garlic lands differently on day one than it does by day three, and that is the first thing to know about dialing up the garlic in hummus. Start with one clove, taste, and add more before you serve if the bowl needs it; the paste mellows as it sits, so what tastes fierce at the counter can taste flat by dinner tomorrow.
For anyone who wants the punch without the acrid edge, lemon juice does the softening work for you. Mince the garlic and let it sit in the lemon juice for 10 to 15 minutes before it hits the processor. The acid calms the raw heat while keeping the flavor intact, and you still get garlic hummus that reads as garlic hummus, not as a diplomatic compromise.
Roasting the cloves whole is the slower route and changes the profile entirely, sweeter and deeper, though you will need more of them to register against the chickpeas. Raw or mellowed, two to three cloves is the range most cooks land on when they are actually looking for garlic hummus rather than hummus that happens to contain garlic.
Recommended Products

Great source of natural protein, ideal for vegetarians & vegans.


✔️ Garbanzo Beans, a.k.a. chickpeas are a great addition to any meal plan due to their nutritious value.
9. Spicy Hummus
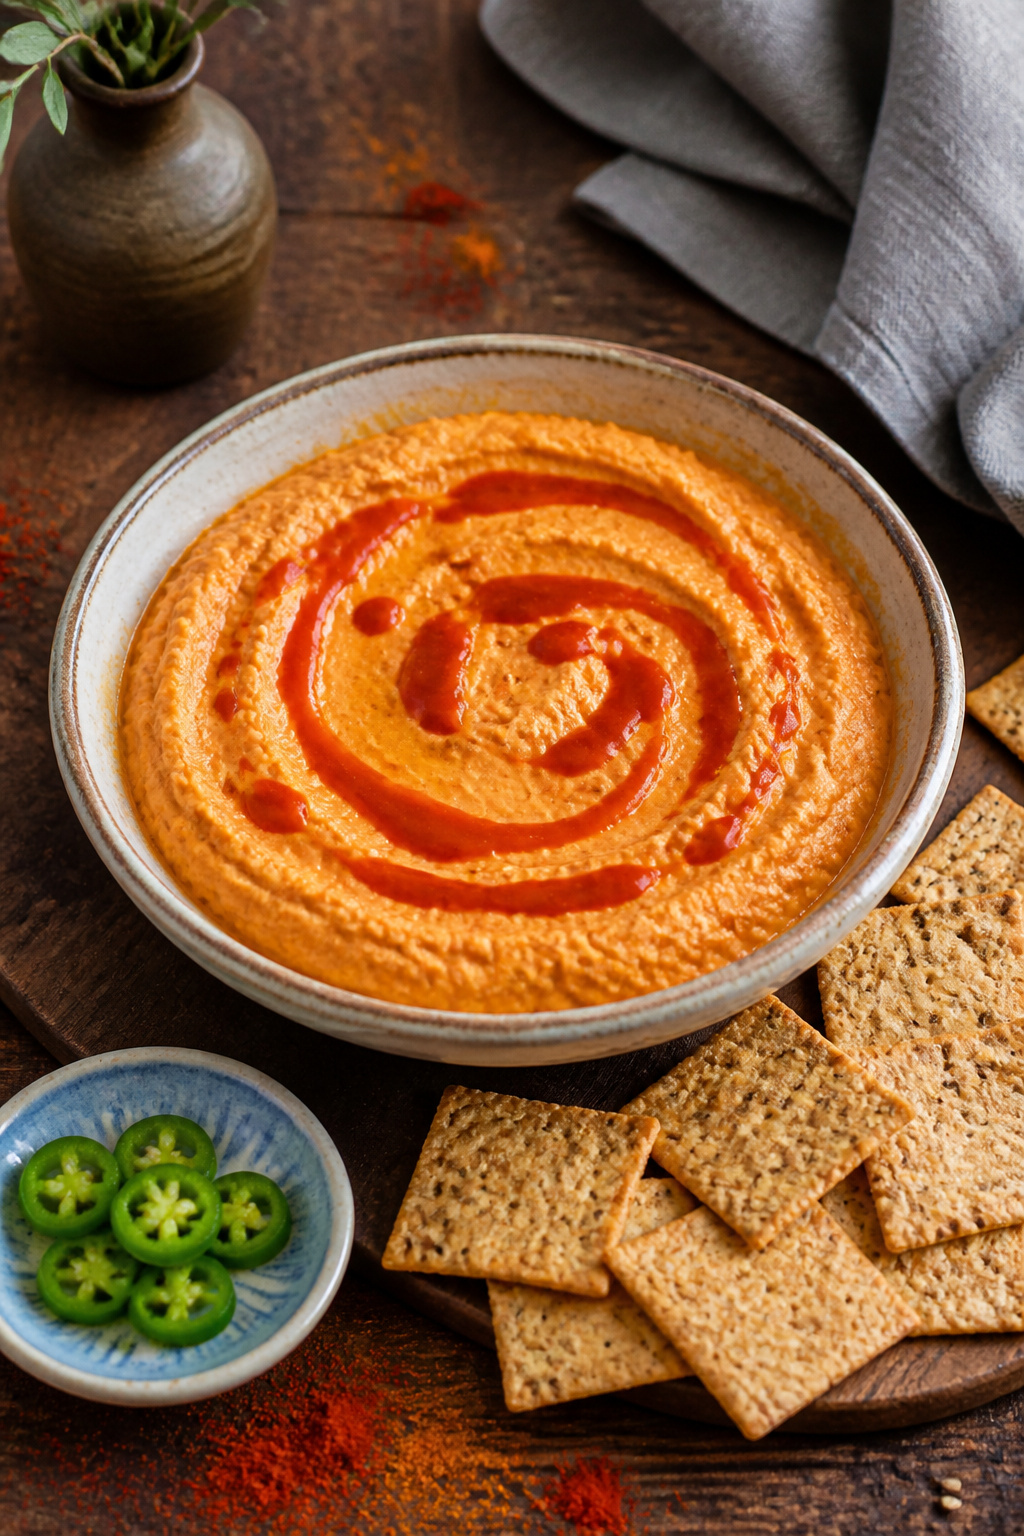
Heat in hummus needs a source that blends smooth, not one that leaves fibrous chunks behind. Two tablespoons of Sriracha folds right into the base with no texture change, and the vinegar in the sauce brightens the tahini rather than fighting it. For a greener, sharper heat, one jalapeño with stem and seeds removed works; the sources split on whether to add a handful of chopped cilantro alongside, but the pepper alone still delivers. Roasting that jalapeño first softens the bite and adds a faint sweetness, though you will wait for the oven and lose the raw snap. The seeds are where most of the capsaicin hides, so scraping them out keeps the hummus edible for kids while still registering as spicy. If you want smoke with the heat, a single chipotle pepper in adobo or a few tablespoons of its sauce does both jobs at once.
10. Beet Hummus
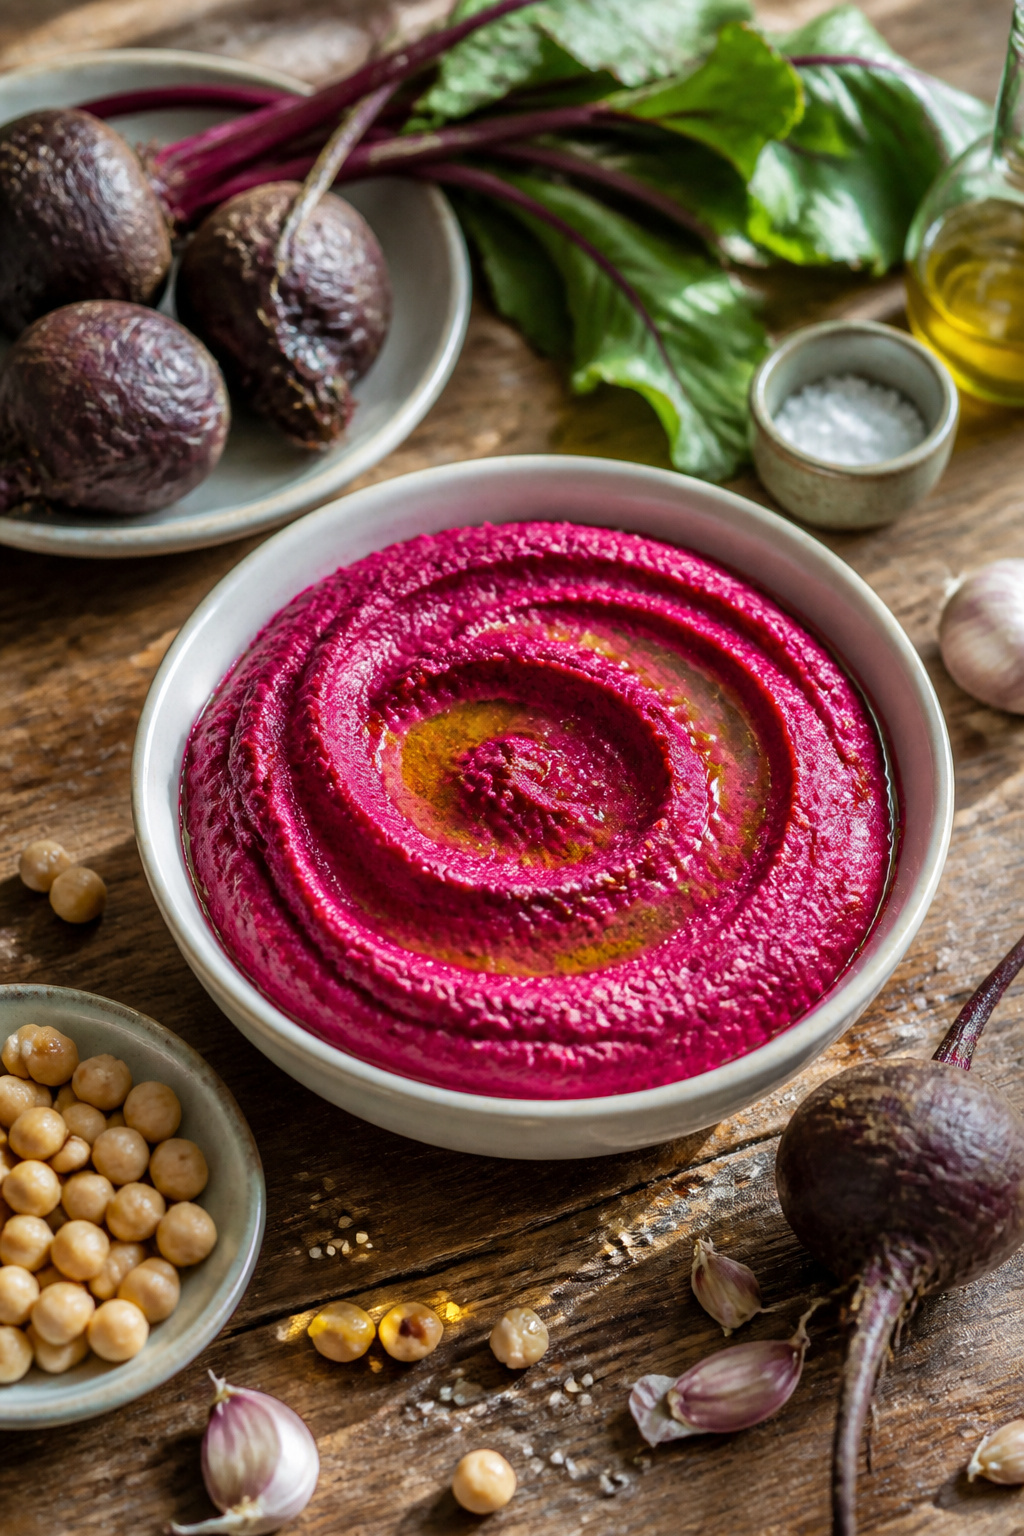
Roasted beets turn hummus a color that stops people mid-reach across the table. The earthiness lands somewhere between sweet and mineral, and the texture stays just as silky if you blend while the beets are still warm.
One or two medium roasted beets blended into a standard batch is the range that works. One gives a blush and a hint; two goes full magenta and pushes the sweetness forward. I roast them wrapped in foil at 400°F until a knife slides through without resistance, usually 45 to 60 minutes depending on size. Peeling is easier once they’ve cooled enough to handle, though the skins slip off fastest under running water.
Tahini and lemon both need a slight pull-back from your usual ratio. Beets bring moisture and their own quiet sweetness, so start with a tablespoon less tahini and half the lemon, then taste. The color is the point here, so serve it in a white bowl where it can actually show. A drizzle of olive oil and a few whole chickpeas on top look intentional rather than apologetic; the pink does enough heavy lifting that you don’t need much else.
Recommended Products

OUR SUNNIEST FLAVOR YET: We upcycle used lemons to craft a bright, juicy, savory lemon paste. Then we layer our freshly-spun, organic hummus on top - pure lemon bliss!

11. Herbed Hummus
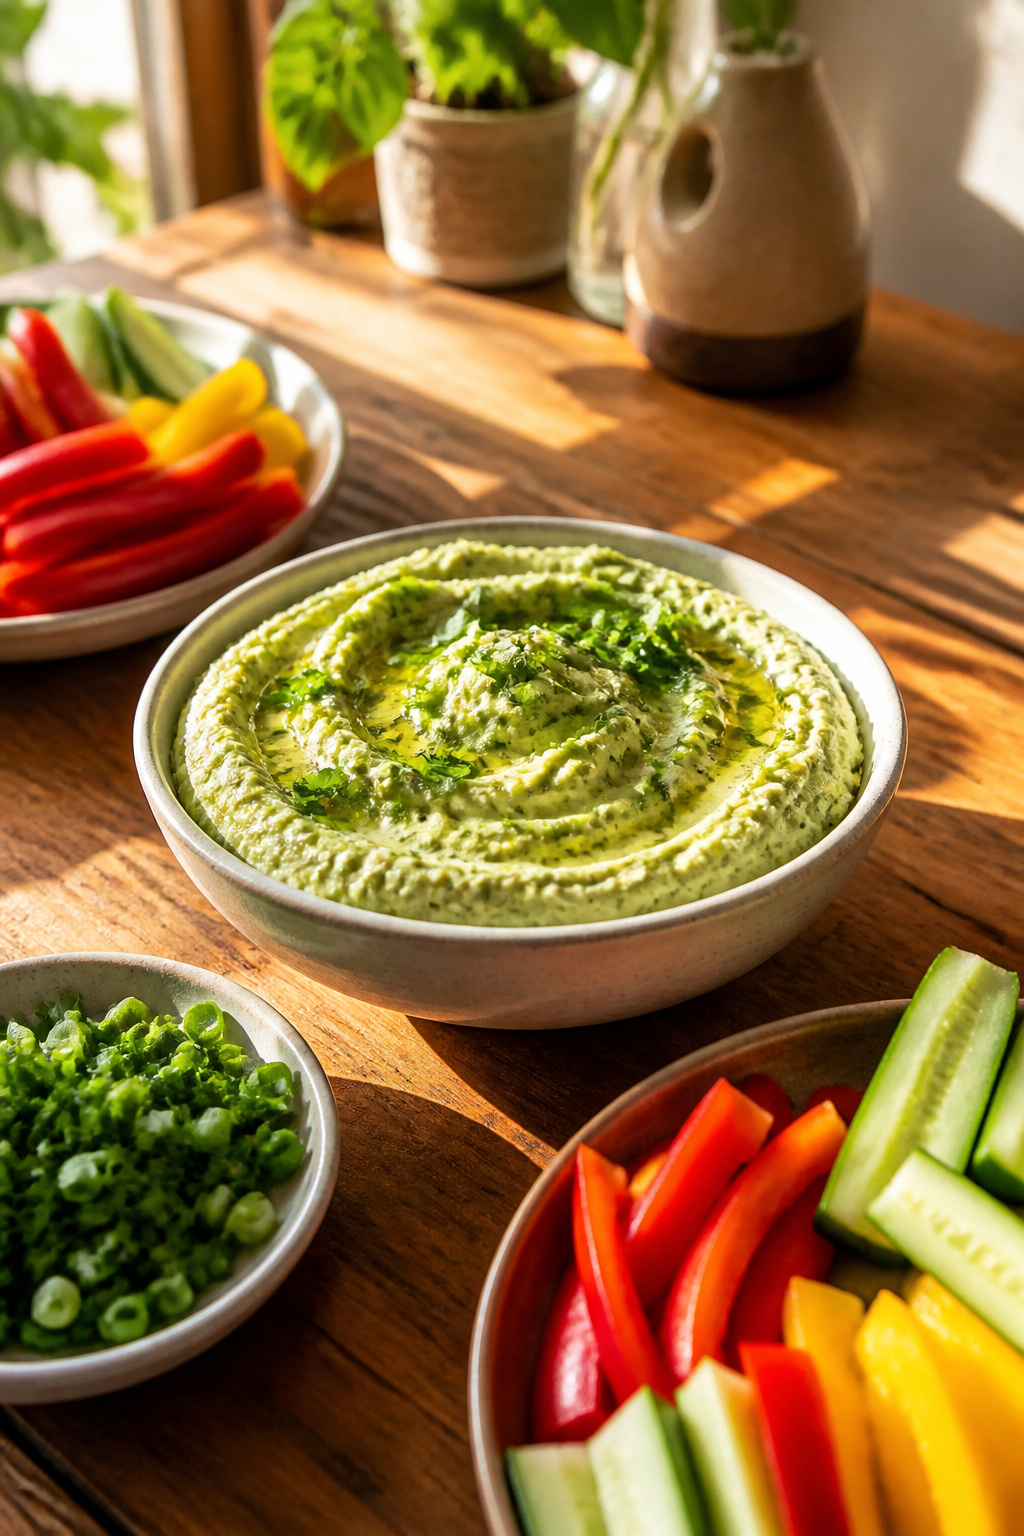
Fresh herbs wake up hummus in a way that feels like a different dish entirely. The classic base stays, but a big handful of cilantro or parsley folded in at the end turns the color vivid green and the flavor sharp and almost grassy. Budget Bytes builds a jalapeño cilantro version with one seeded pepper and a third of a bunch of cilantro processed straight into the batch, which I like for the heat that builds slowly rather than announcing itself upfront. For something milder, their parsley scallion version uses four sliced green onions and half a bunch of parsley leaves, and the result works as well on a sandwich as it does with vegetables. Some cooks blend herbs in completely; others pulse them in at the last second so flecks stay visible. Either way, tender herbs go in raw, never cooked, or they lose the brightness that makes this variation worth doing.
12. Tahini-Free Hummus
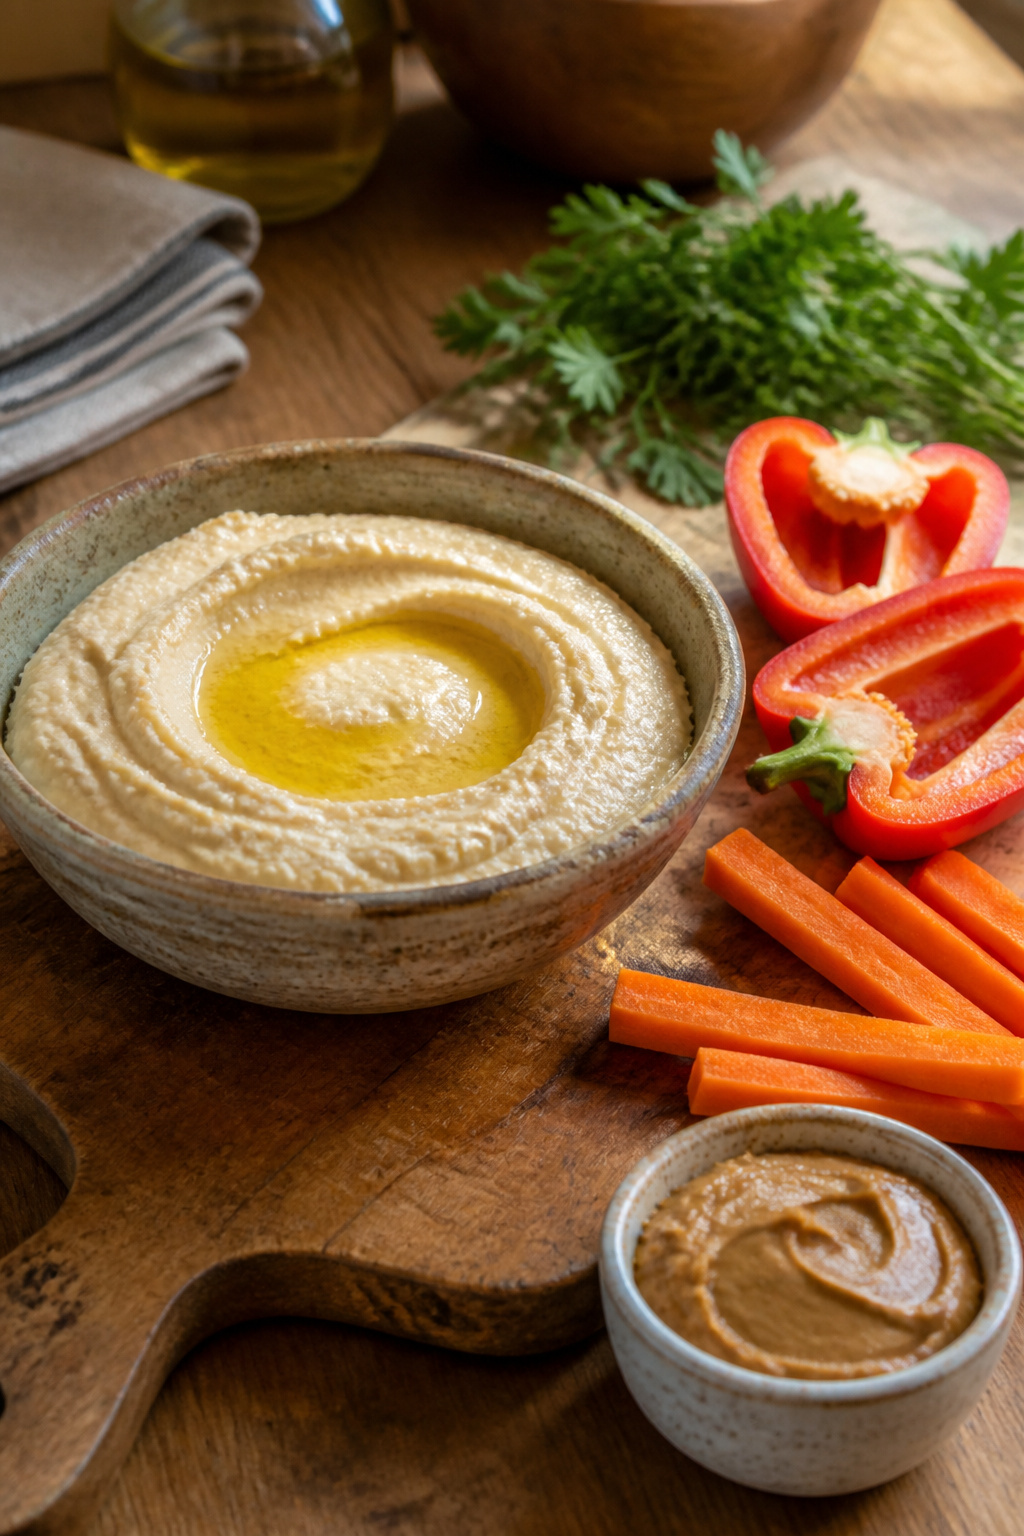
A sesame allergy does not have to end your hummus habit. The swap is straightforward: replace the tahini with more olive oil or with a nut butter, though the result will shift in flavor.
Olive oil on its own keeps the hummus mild and lets the lemon and cumin come forward. The texture stays loose and creamy if you add it gradually while the processor runs. Nut butter, peanut or almond, thickens the body and introduces its own character. One competing voice warns against this trade entirely, calling it a definite change from the authentic profile. That is honest, and it matters most if you are serving guests who expect the classic taste. For a weeknight dip at your own table, the question is simply whether you like what you get.
I keep the rest of the build the same. One small garlic clove, fresh lemon juice rather than bottled, a pinch of cumin, salt to finish. The chickpeas still carry the dish. Without tahini’s slight bitterness, you may want an extra squeeze of lemon or a little more salt to keep the flavor from flattening. Taste after blending, tweak, and call it done.
What Hummus Means on the Table
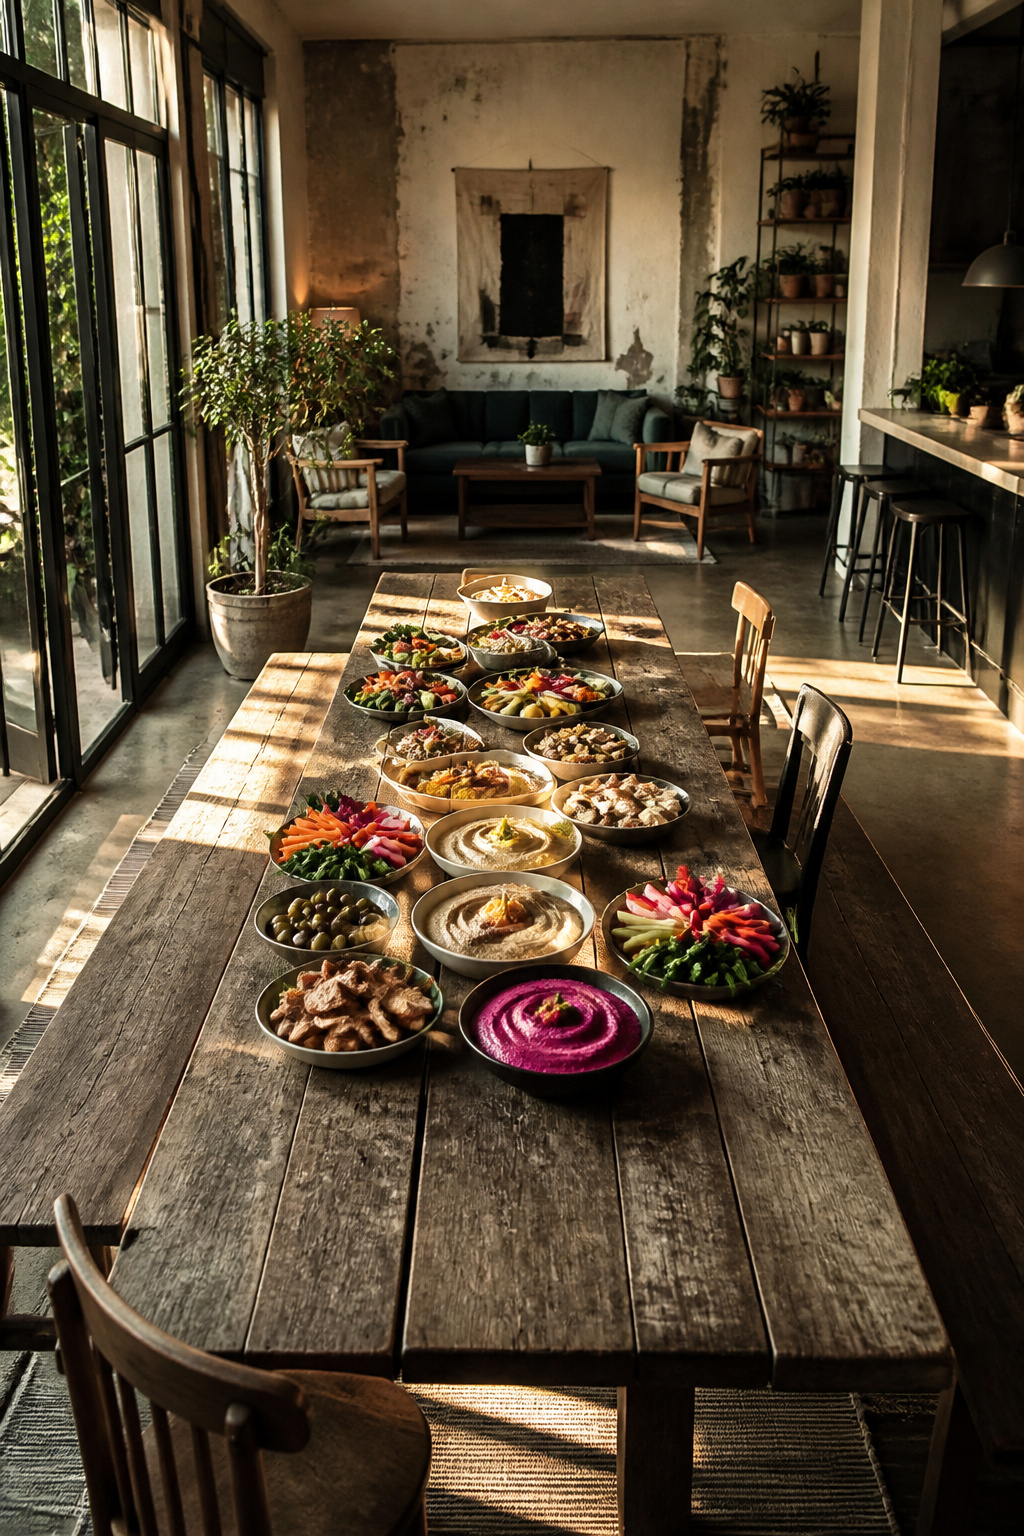
The word itself is Arabic for chickpeas, and the dish has anchored tables across the Middle East for centuries. What strikes me, reading through the variations, is how little the core formula changes: chickpeas, tahini, garlic, lemon, salt. Some cooks add cumin or cayenne; others stop at the basics. The flexibility is the point. Hummus is a spread, a dip, a side, or a meal depending on what else is on the plate, and that utility explains why it survived this long without a canonical recipe. Store-bought versions fill American deli cases now, but the homemade versions I keep coming back to share that same five-ingredient backbone. The history matters less as prestige than as proof: if a dish stays this simple for this long, the simplicity is doing the work.
Canned or Dried Chickpeas
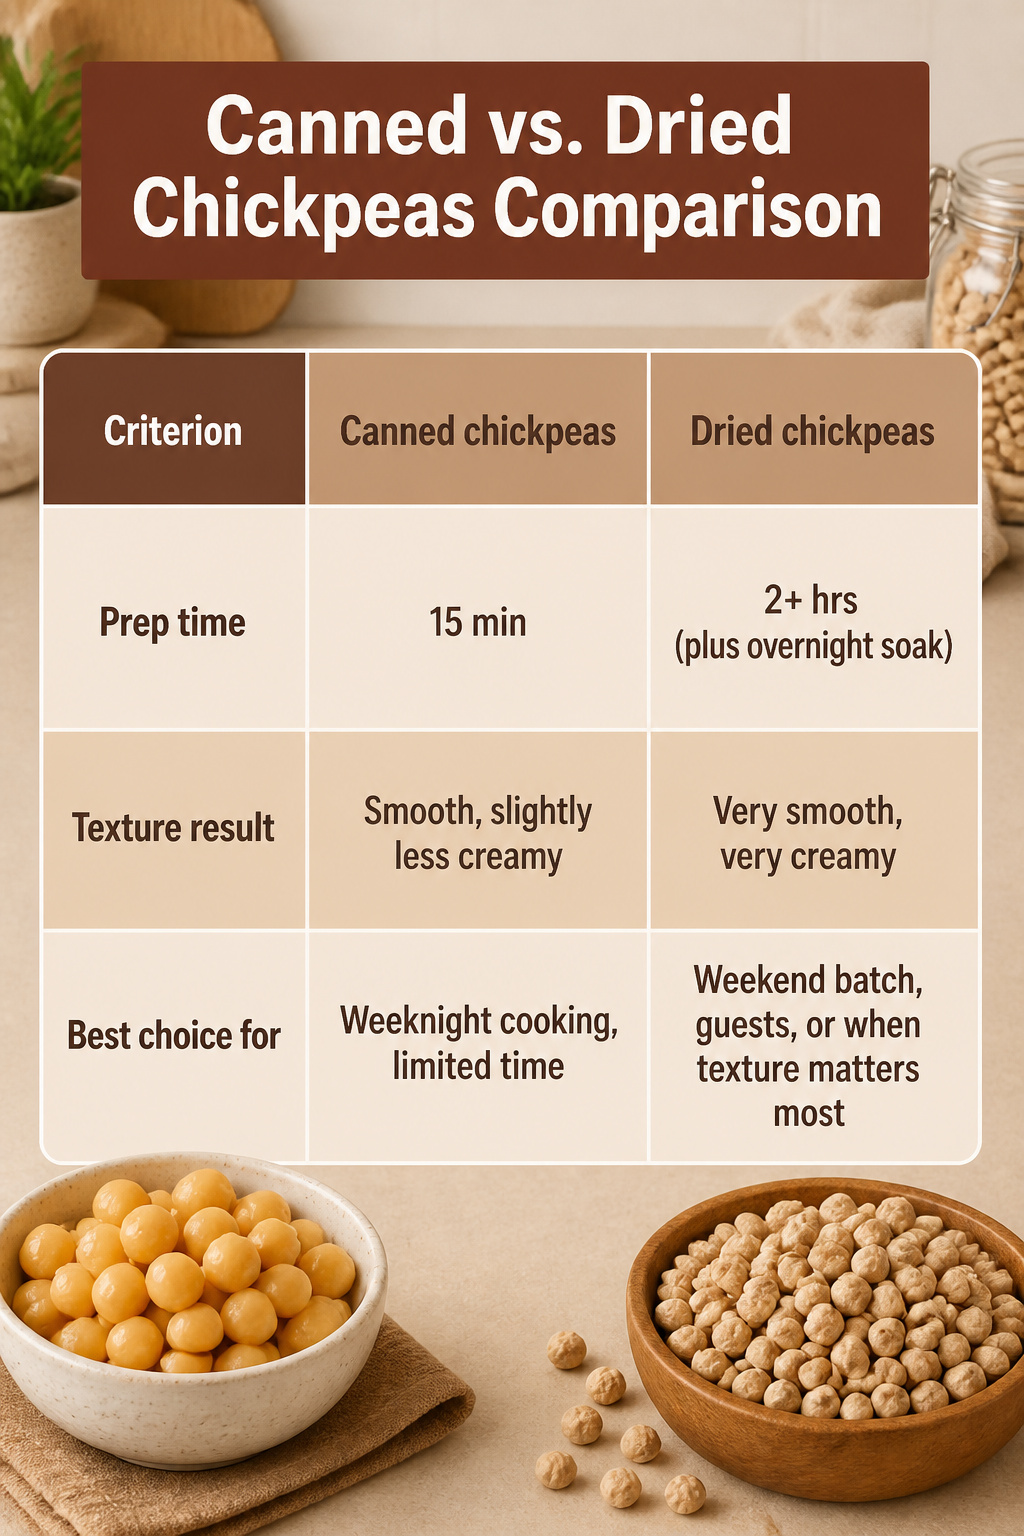
Canned chickpeas get dinner on the table in about fifteen minutes of actual work. Dried chickpeas, soaked overnight and simmered until soft, take closer to two hours but leave you with a noticeably silkier purée. The gap between them is smaller than the time suggests.
| Canned chickpeas | Dried chickpeas | |
|---|---|---|
| Prep time | 15 min | 2+ hrs (plus overnight soak) |
| Texture result | Smooth, slightly less creamy | Very smooth, very creamy |
| Best choice for | Weeknight cooking, limited time | Weekend batch, guests, or when texture matters most |
A 20-minute simmer in fresh water bridges most of the difference. Rinse the canned chickpeas first, cover by an inch or two, and let them bubble gently until they soften past the point of holding their shape. Some cooks add a third-teaspoon of baking soda to the water; the chickpeas swell and the skins loosen, which helps the blender do its job. The simmer is worth it if you have the time, though the difference is subtle enough that on a Tuesday night I often skip it and no one at the table complains.
Nutritional Basics
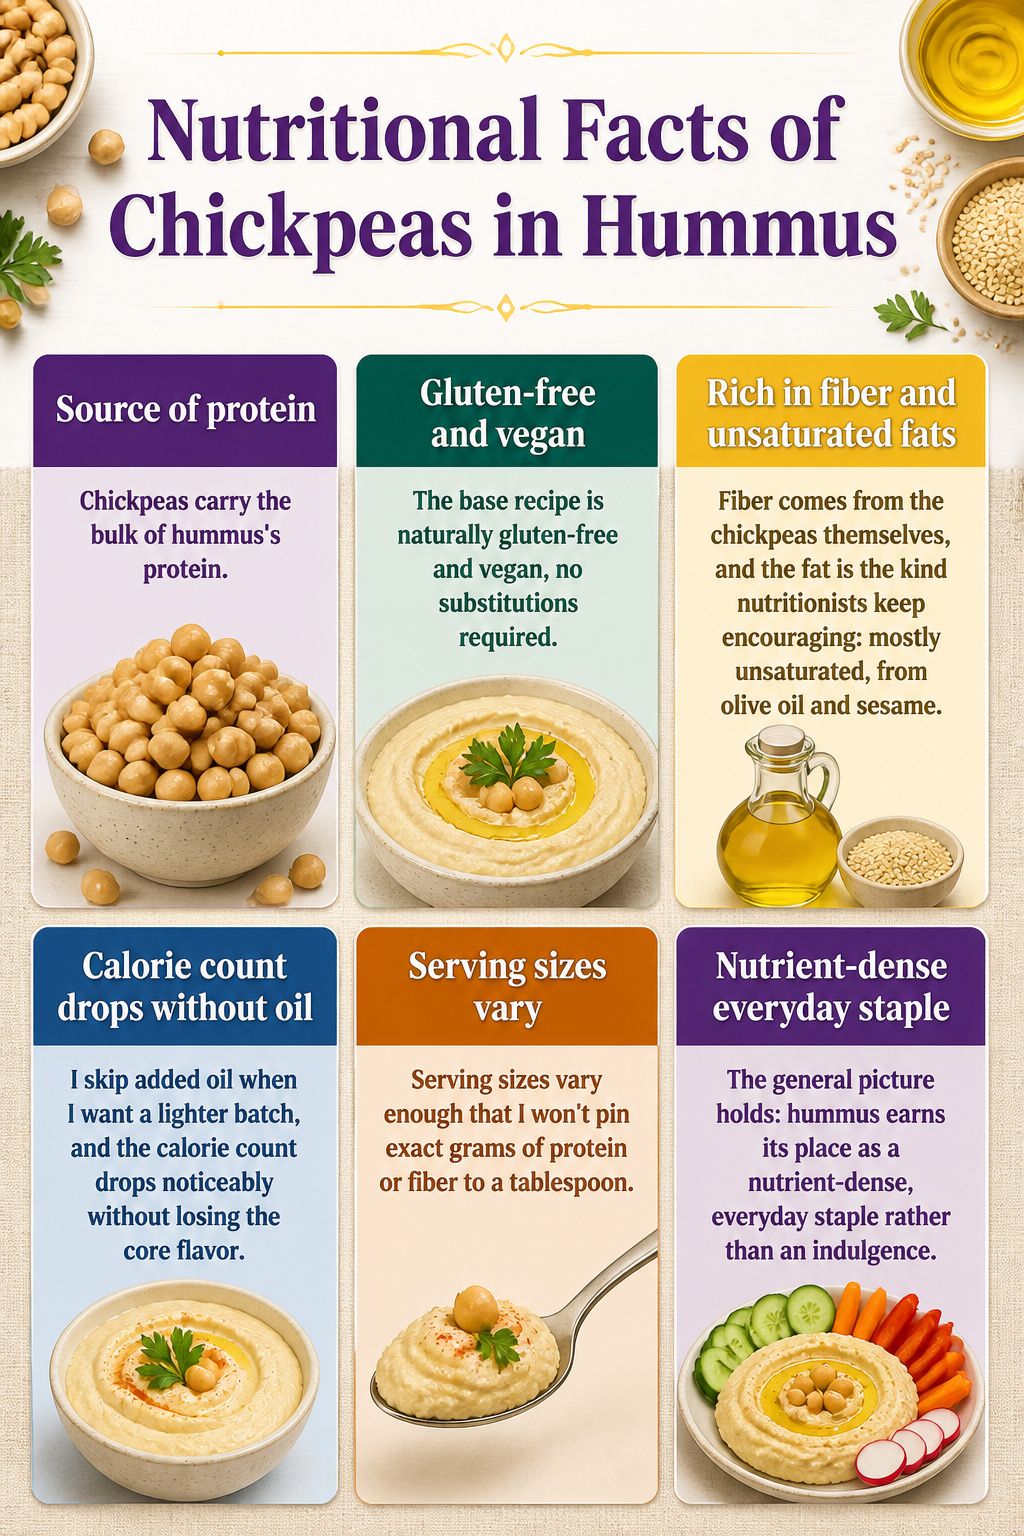
Chickpeas carry the bulk of hummus’s protein, while tahini contributes calcium and magnesium alongside that sesame richness. Together they make a spread that satisfies hunger without the blood-sugar spike some snacks bring, which explains why a bowl of it with vegetables holds me longer than a handful of crackers.
The base recipe is naturally gluten-free and vegan, no substitutions required. Fiber comes from the chickpeas themselves, and the fat is the kind nutritionists keep encouraging: mostly unsaturated, from olive oil and sesame. I skip added oil when I want a lighter batch, and the calorie count drops noticeably without losing the core flavor.
Serving sizes vary enough that I won’t pin exact grams of protein or fiber to a tablespoon. Sources disagree on the precise breakdown anyway, and your own batch’s thickness changes what you actually eat. The general picture holds: hummus earns its place as a nutrient-dense, everyday staple rather than an indulgence.
Frequently Asked Questions
Can I use canned chickpeas to make hummus?
Yes. Canned chickpeas work fine, though they benefit from a 20-minute simmer in fresh water after draining and rinsing. That extra softening gets them past the semi-firm canned state and lets the blender produce a smoother purée.
Do I need to peel the chickpeas?
No, though peeling does make hummus slightly smoother. The article finds that simmered canned beans with baking soda get smooth enough for most purposes, and the time spent rubbing individual chickpeas at the sink is not worth the small difference for a weeknight batch.
How long does homemade hummus last?
Stored in an airtight container, homemade hummus keeps 5 to 7 days in the refrigerator. A thin layer of olive oil poured over the surface helps it stay fresh longer if you know it will sit more than a couple of days.
Can I freeze hummus?
Yes. Freeze it in small portions for up to 3 months, then thaw overnight in the refrigerator and stir well. The texture may separate slightly; a fresh drizzle of olive oil and a quick stir usually brings it back.
What tahini brands do you recommend?
Soom, Cedar’s, and Seed & Mill are the brands that come up most often in conversations about quality tahini. The oil separates in the jar, so stir thoroughly before measuring to get the right sesame backbone without turning the blend pasty.