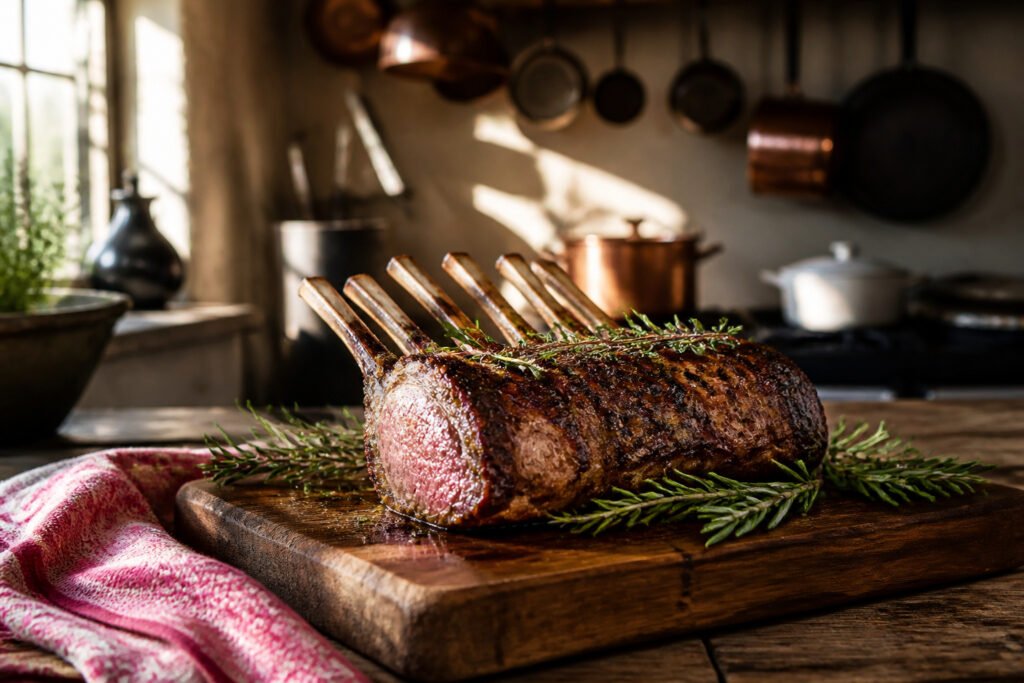
A rack of lamb finished this way carries a crust that crackles between your teeth while the center stays rose-pink edge to edge. The difference is doing the sear last, not first, and the whole thing takes about two hours of actual cooking plus whatever salting window you can give it.
That window matters more than most recipes admit. Salt the racks a full day ahead, uncovered in the fridge, and the surface dries to parchment so the final sear builds color instead of boiling the meat in its own juices. Diamond Crystal kosher salt, two teaspoons per rack, is what makes the timing forgiving rather than risky.
Salt the Lamb Racks

Two teaspoons of Diamond Crystal kosher salt per rack is the right amount for this step. The crystal size matters more than most cooks expect. Diamond Crystal’s hollow flakes dissolve slowly and cling to the meat without the dense, immediate salinity of finer table salt or even Morton’s kosher. I have overshot with finer salts and ended up with a crust that read seasoned but tasted harsh.
Rub the salt across every surface, including the fat cap and the exposed rib bones if your racks are frenched. Slide them onto a wire rack set over a sheet pan, uncovered, and refrigerate for 1 to 3 days. The salt draws moisture out through the cell walls in the first hours, then that brine breaks down and gets drawn back in, carrying the salt with it. What returns to the meat seasons the interior instead of just crusting the exterior. The surface dries in the cold air, which is what lets you build a sear later without boiling the lamb in its own juices.
After the first day the exterior will look dull and slightly stiff, almost like parchment. That is the texture you want. Three days gives the deepest seasoning, but even overnight changes the finished bite from simply salted to genuinely seasoned through.
Recommended Products

New Zealand Origin: Raised on New Zealand’s lush, open pastures, delivering exceptional flavor, tenderness, and quality.

Tender and flavorful no-antibiotics-ever 100% grass-fed New Zealand lamb ready for your favorite preparation

New Zealand Origin: Raised on New Zealand’s lush, open pastures, delivering exceptional flavor, tenderness, and quality.
Prepare the Marinade

Extra virgin olive oil, fresh lemon juice, minced garlic, dried oregano, and freshly ground black pepper form the backbone of the marinade. I use ⅓ cup olive oil to 3 tablespoons lemon juice, with 4 cloves of garlic and a tablespoon of oregano for roughly two racks. The half-teaspoon of black pepper is enough to register without stealing attention from the lamb itself.
Oregano is the traditional move, though marjoram swaps in cleanly if that is what the pantry holds. Rosemary or thyme work too, and I have leaned on rosemary when the oregano jar ran low mid-week. The point is keeping the acid, fat, and allium in place; the herb is negotiable.
Recommended Products

Best selling combination of pan, and rack in half-sheet size is the ideal place for Himalayan Salt for the dry aging process. This size rack and pan Is Ideal to hold your sub-primal size beef for aging and was designed to work perfectly together in dry aging your beef.

We feel this combination of pan and rack in half-sheet size is the ideal place for Himalayan Salt for the dry aging process. This size rack and pan Is Ideal to hold your sub-primal size beef for aging and was designed to work perfectly together in dry aging your beef.
Marinate the Lamb

Pour the marinade over the salted racks and let them sit for at least 1 hour, and up to 12 hours in the fridge when you want fuller flavor. During that time, the lemon juice starts working on the surface of the meat, and the garlic, oregano, and oil push deeper into the fat and the gaps between the bones. The salt you applied earlier has already begun drawing moisture out and then back in; now the marinade rides that same wave.
An hour gets you a noticeable layer of flavor. The full 12 hours gets you lamb that tastes seasoned to the bone, which is what I aim for when I remember to plan ahead. The olive oil also protects the surface during the long, slow roast to come, so the meat doesn’t dry out before the sear. If you pull the racks out while the oven heats, they’ll shed some of their chill without sitting so long that food safety becomes a worry.
Recommended Products
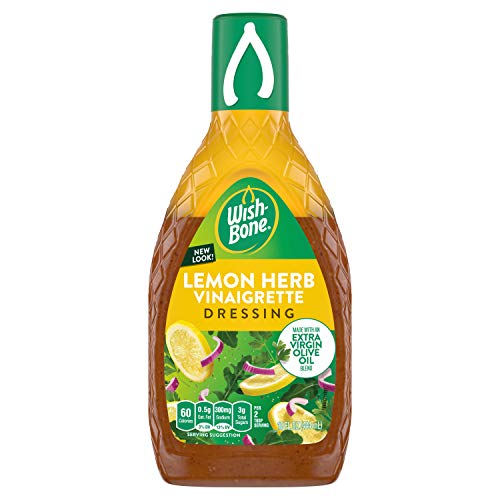
One 15 fl oz bottle of Wish-Bone Extra Virgin Olive Oil Blend Lemon Herb Dressing

Endless Cooking Possibilities: From salad dressings to high-heat cooking, this garlic-infused oil is the perfected infusion of fresh, aromatic garlic into organic sunflower oil. Can also use as a dipping oil!

Exquisite Lemon-Infused Premium Extra Virgin Olive Oil by BASSO 1904
Preheat and Slow Roast

Set the oven to 275°F and place the racks on a wire rack inside a rimmed baking sheet. The low heat does the heavy lifting here, and the wire rack keeps air moving underneath so the meat cooks evenly instead of stewing in its own juices.
This is where a meat thermometer earns its keep. Slide the probe into the thickest part of the rack and watch for 125°F, which lands you at medium-rare after carryover. The window is forgiving, about 30 to 45 minutes depending on how large your racks are, but the thermometer removes the guesswork entirely. Without it, you are judging by time alone and hoping the butcher cut to the same weight as last time.
Once that temperature hits, pull the lamb out. The exterior will look pale and unremarkable, which is exactly right. The color comes in the next stage, not this one.
Recommended Products

SIGNATURE BLEND: Lawry's signature Seasoned Salt is the original blend of salt, herbs, and spices, including paprika and turmeric, plus onion and garlic.

VERSATILE & EASY TO USE: From steaks to chicken to wild game, roasted veggies to seared sides, salads to hearty pastas, this ultra rich seasoning is your secret weapon at the grill and in the kitchen.

FLAVORFUL BLEND: Lawry's 25% Less Sodium Seasoned Salt is a blend of salt, herbs, and spices, including paprika and turmeric, plus onion and garlic
Sear to Finish
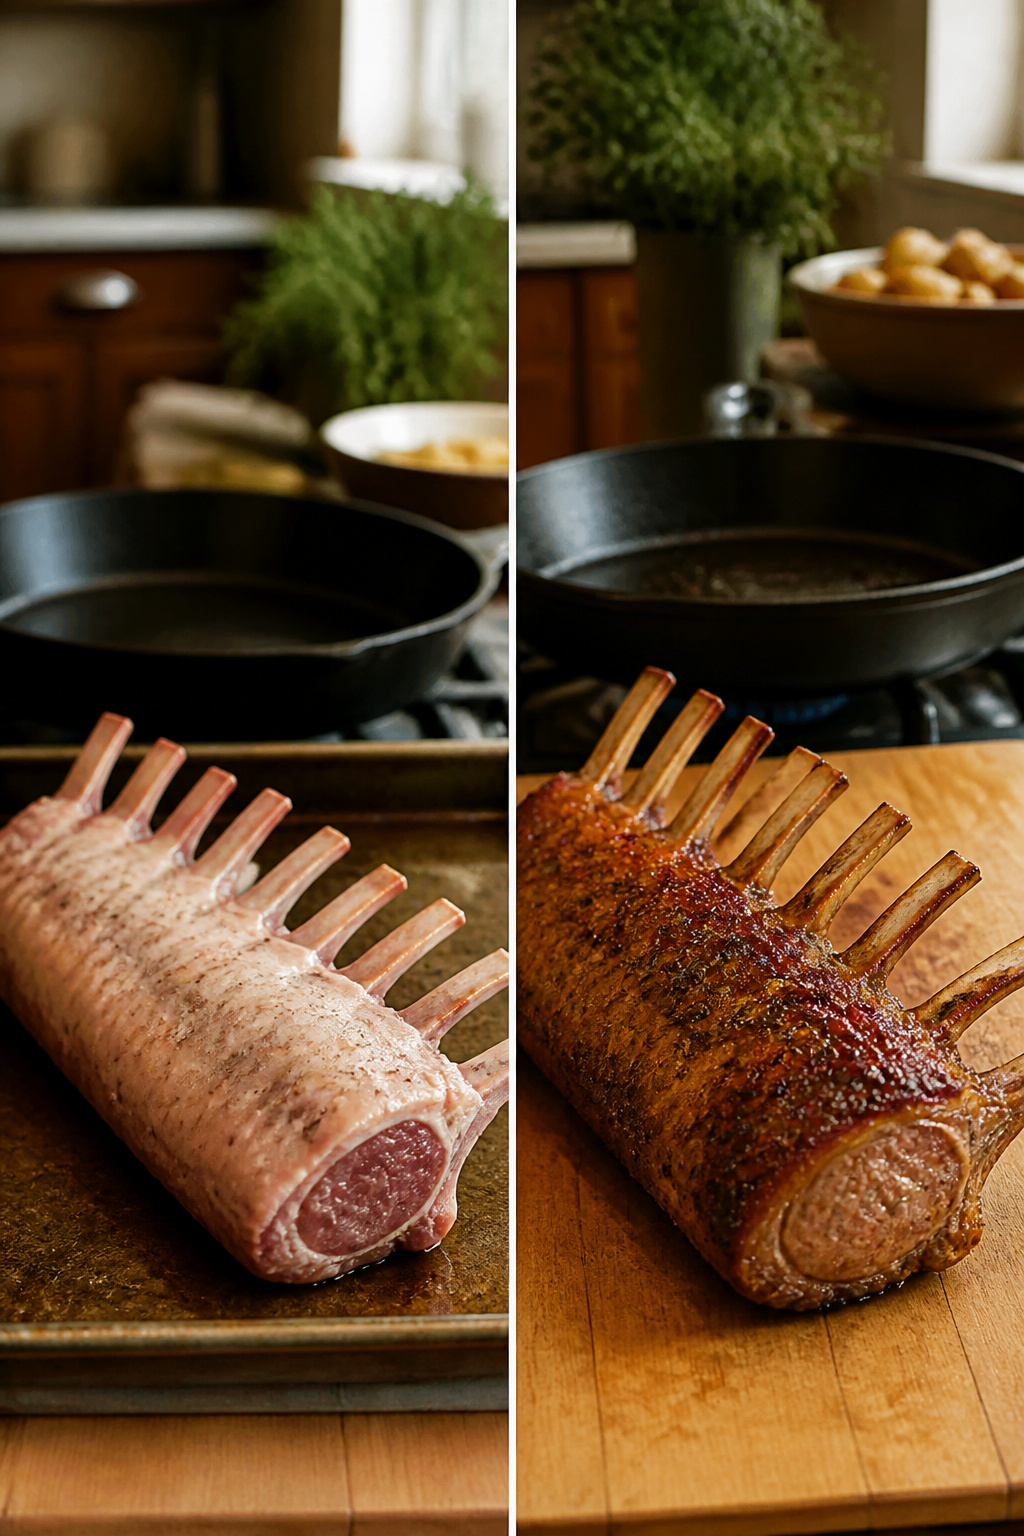
The reverse sear only works if you finish hard and fast. Once the lamb hits 125°F inside, it needs a blast of direct heat to build the crust without pushing the center past medium-rare. You have two ways to do this, and the difference matters.
The broiler is hands-off. Slide the rack onto the top rack, close the door, and let the heat do the browning for about five minutes. It is the easier choice when you are already juggling sides or a sauce on the stove. A hot pan on the stovetop gives more control, since you can move the meat, press it, and pull it the second the color looks right. Either way, five minutes is the window; past that, the center keeps cooking and the pink edge-to-edge texture you built in the slow roast starts to shrink.
This is the whole point of the reverse sear. The low oven bought you a wide margin of error, and the final sear spends that margin on flavor, not on overcooking.
Recommended Products

Slice and Serve

A frenched rack of about a pound and a half gives you eight chops, so the math works out cleanly for a small dinner party or a family of four with enough left for lunch. Turn the rack bone-side up and cut straight down between each bone with a sharp knife; the meat should separate with almost no resistance if the roast has rested properly.
Tzatziki and crispy potatoes are the pairing that keeps surfacing when I look at what actually lands on tables with this dish. The cool yogurt cuts the richness of the lamb without competing, and potatoes roasted in the same fat you seared with pick up the drippings that would otherwise stay in the pan. Neither requires a separate trip beyond what you’d already grab for the lamb itself.
Recommended Products
This item has been rated by the Global Animal Partnership a Step 4 - Enriched Environment
Meets standards for animal welfare, feed, and more, so you can know about what you're buying (and eating)

PREMIUM QUALITY: Our New Zealand Rack of Lamb features succulent rib racks, sourced from grass-fed lamb raised in Australia or New Zealand. Each vacuum-sealed package contains 2 racks, providing enough meat to serve dinner for 2.
What You Need

Seven ingredients cover everything. No pantry digging required.
- Rack of lamb, frenched, about 1½ pounds: Two racks feed four people comfortably. I pick mine up at Costco or Trader Joe’s; both carry the frenched cut with the rib bones already cleaned.
- Diamond Crystal kosher salt: The crystal structure makes it harder to over-salt, which matters when you’re seasoning early and generously.
- Extra virgin olive oil
- Fresh lemon juice
- Fresh garlic, minced: Four cloves is the standard measure.
- Dried oregano or marjoram: Rosemary or thyme substitute cleanly if those are what you have. The herb choice is flexible; the dried form is not, since it stands up to the long roast.
- Freshly ground black pepper
That’s the full list. No red wine, no Dijon, no overnight wait.
Reverse Sear or Traditional Roast

A rack of lamb has two sides that cook at different speeds: the outer fat cap faces the heat, and the meat underneath is lean and small. Traditional roasting starts hot to brown the exterior, then drops the temperature to finish the center without overshooting. The risk is a gray band of overcooked meat just inside that crust, especially on a cut this expensive and this quick to pass from rare to medium.
The reverse sear flips the order. The lamb roasts low, around 250°F, until the center hits 125°F for medium-rare, then gets a fast sear in a hot pan or under the broiler. That slow start gives the small rack time to warm evenly edge to edge, and the final blast is only long enough to brown the surface, not push the interior past where you want it.
| Traditional roast | Reverse sear | |
|---|---|---|
| Heat pattern | Hot start, cool finish | Low oven, then sear |
| Doneness risk | Gray band likely, especially on small cuts | Pink from end to end |
| Forgiveness | Narrow window; easy to overshoot | Wider margin if you step away |
| Best for | n/a | Rack of lamb, where even color matters |
For a home cook who just bought two racks for a Saturday dinner, the extra time in the oven buys insurance against a $60 mistake. The reverse sear is the method the steps above use.
Recommended Products
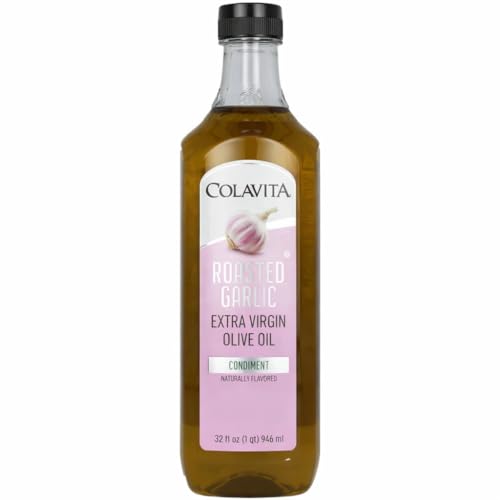
ROASTED GARLIC INFUSION: Cold pressed extra virgin olive oil blended with natural roasted garlic essence for a rich, mellow flavor that enhances everyday cooking.

Natural Lemon Infused Olive Oil: Premium extra virgin olive oil blended with natural lemon flavor for a bright, citrusy finish

Salad Dressings
125°F and Why It Matters
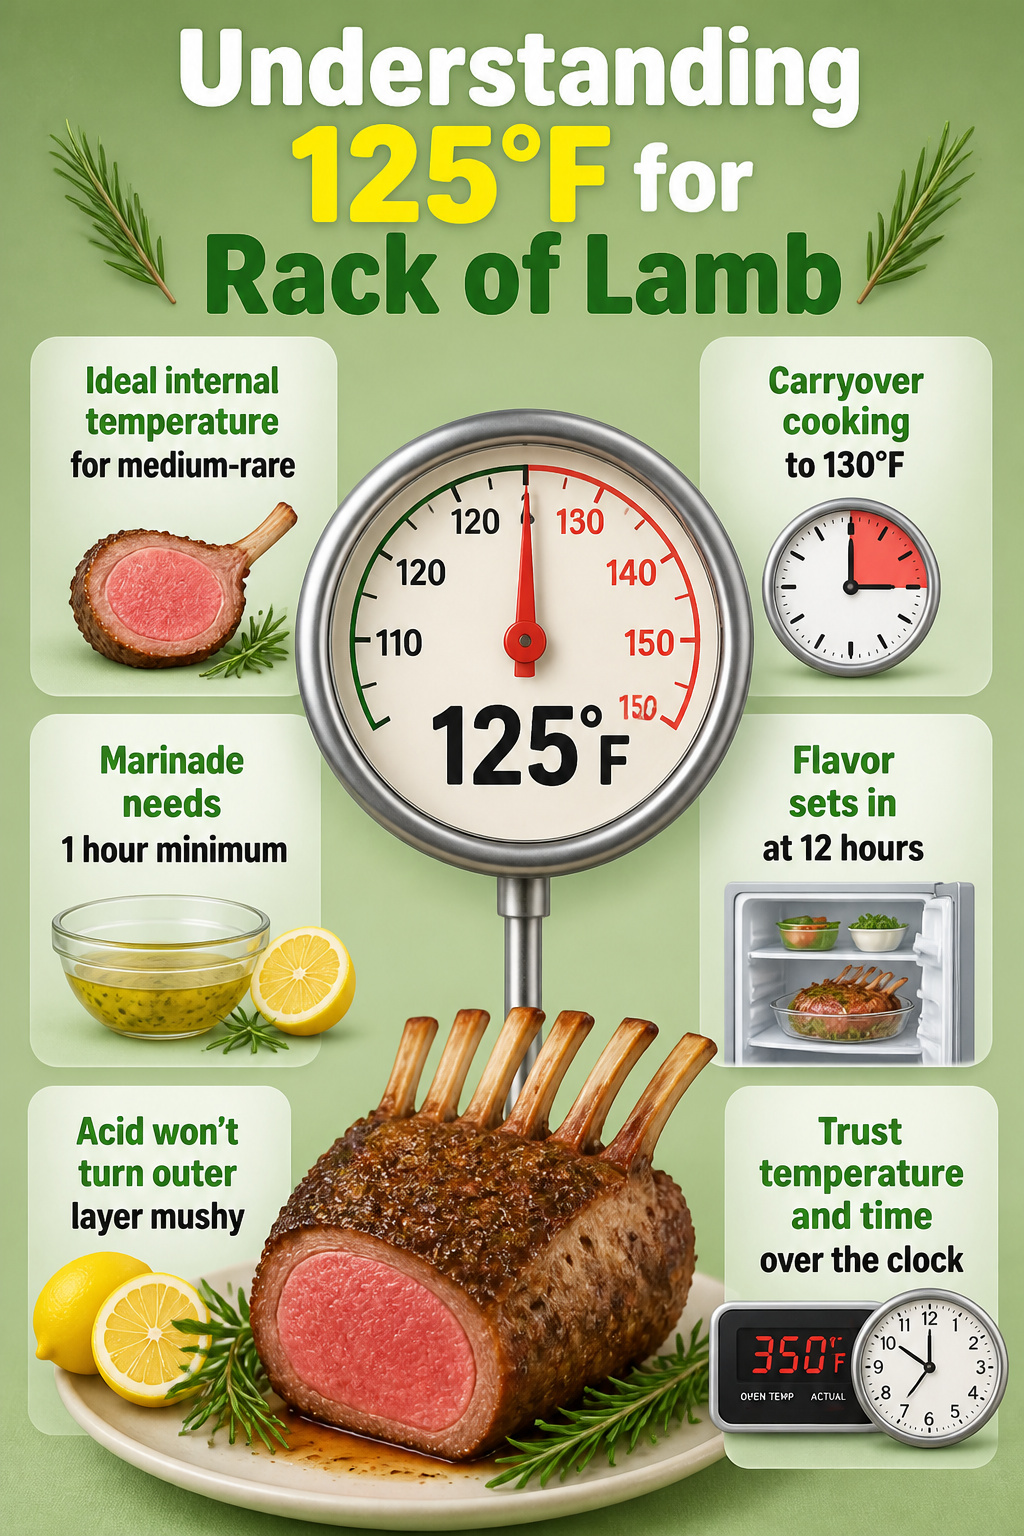
A 125°F internal temperature is the number to pull lamb for medium-rare. Carryover cooking during the ten-minute rest pushes it to about 130°F, which lands exactly where the meat stays pink from edge to edge rather than shading into gray.
Marinating time works on a similar sliding scale. One hour is the floor; the salt and lemon juice need at least that long to start penetrating the fat cap. Twelve hours in the fridge is where the flavor actually sets in, and the racks can sit that long without the acid turning the outer layer mushy.
These two numbers, temperature and time, override whatever the clock on your oven promises. A thicker rack, a colder fridge, an oven that runs ten degrees low; any of them throws off minute-based estimates. The thermometer and the marinade window are what you trust instead.
Recommended Products

COARSE-GROUND: Salt is a mix of coarse-ground garlic, salt, and parsley flakes
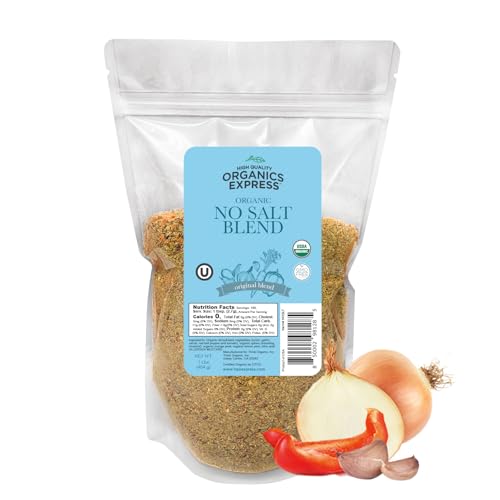
All Purpose Organic No Salt Seasoning: The perfect sodium-free seasoning to create healthy, delicious meals that are full of flavor with 21 organic ingredients including onion powder, cayenne pepper, marjoram spice, and more.

Mrs. Dash is now Dash
Coarse Salt, Fine Salt

Diamond Crystal kosher salt is the one I specify because its crystals are larger and flakier than what you get from Morton or any fine table salt. That structure matters when you are rubbing a rack of lamb. The salt sits on the surface rather than dissolving immediately, so it draws moisture slowly and seasons the meat evenly over hours.
A tablespoon of Diamond Crystal weighs noticeably less than a tablespoon of Morton kosher, and far less than a tablespoon of fine sea salt. If you swap brands by volume, you can easily double the salt concentration without realizing it. A kitchen scale fixes this. If you do not own one, my advice is to start with about half the volume when using another brand, then taste and adjust.